The Menu page shows the menu Ringle reads from a restaurant tenant’s POS: the same catalog the assistant quotes on calls and in chat. It is a read-only view. The menu itself is edited in your POS, and Ringle picks up the changes from there.
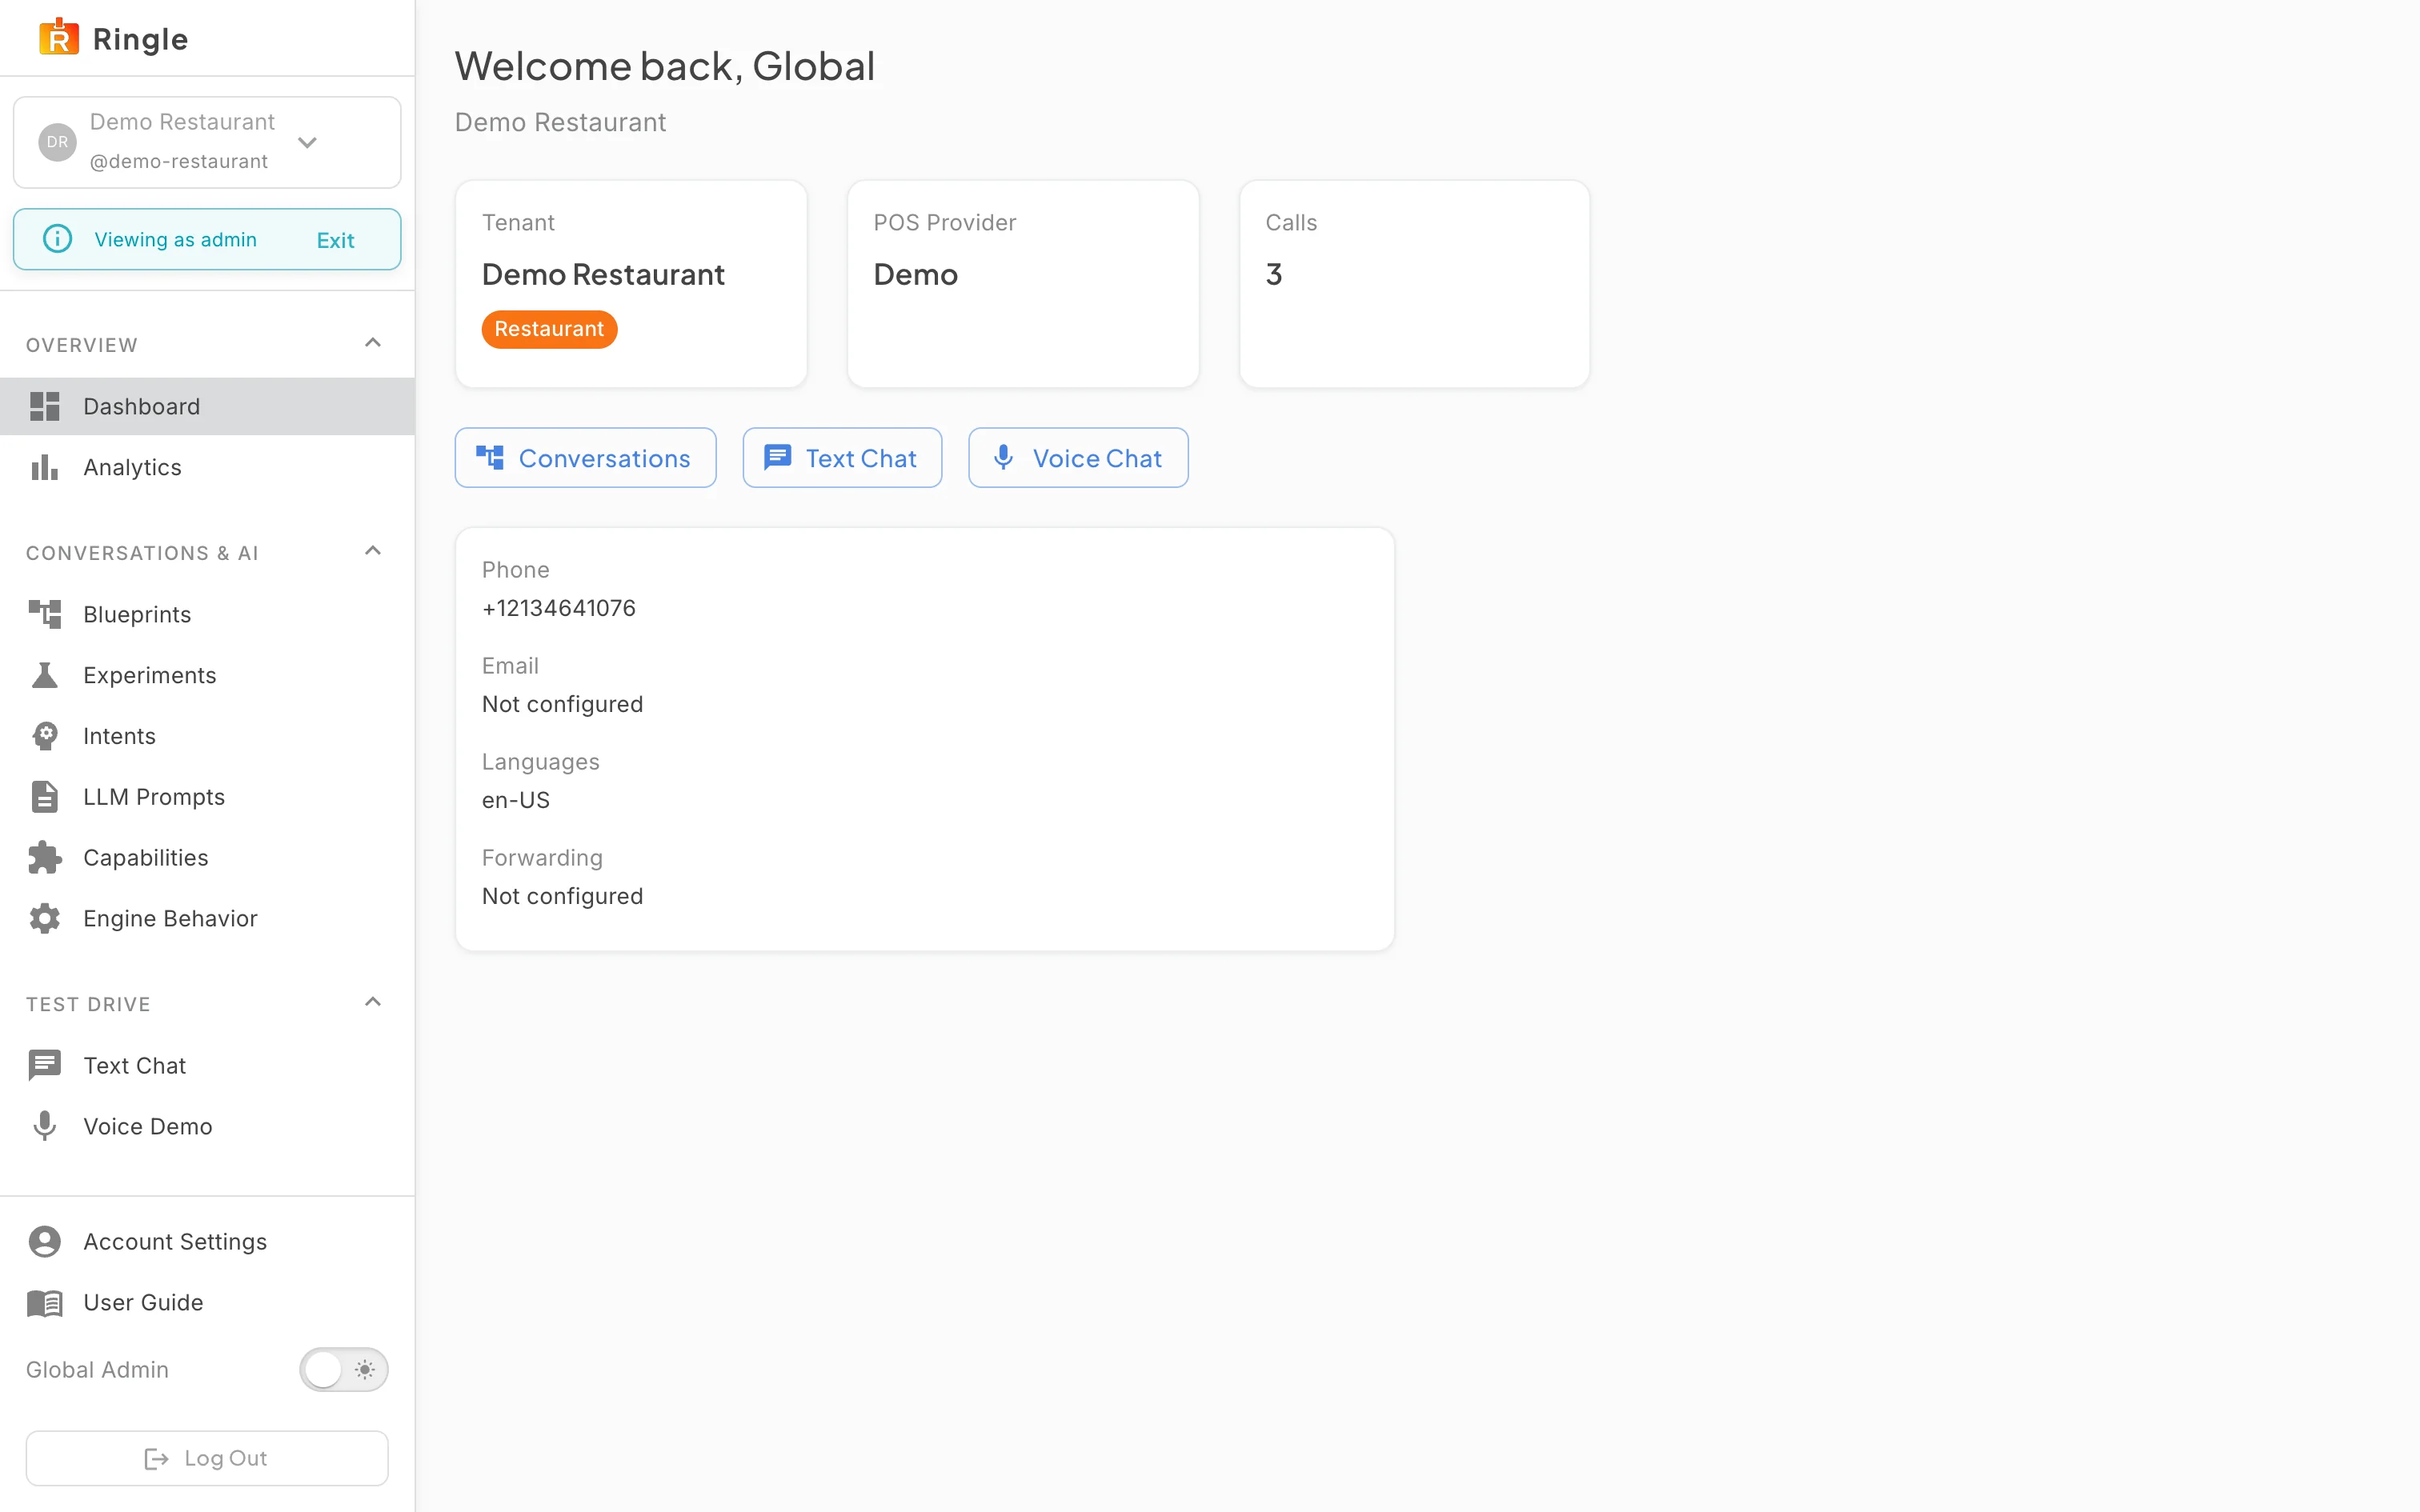
Action: Switch into a restaurant tenant. The dashboard confirms the context: the Tenant card carries a Restaurant sector chip and the POS Provider card names the connected system.
What you should see: You are scoped to the restaurant tenant (Demo Restaurant here, on the Demo provider). All tenant pages, including the menu, now read from this tenant.
Action: Open the Menu page by appending
/menu to the portal address.
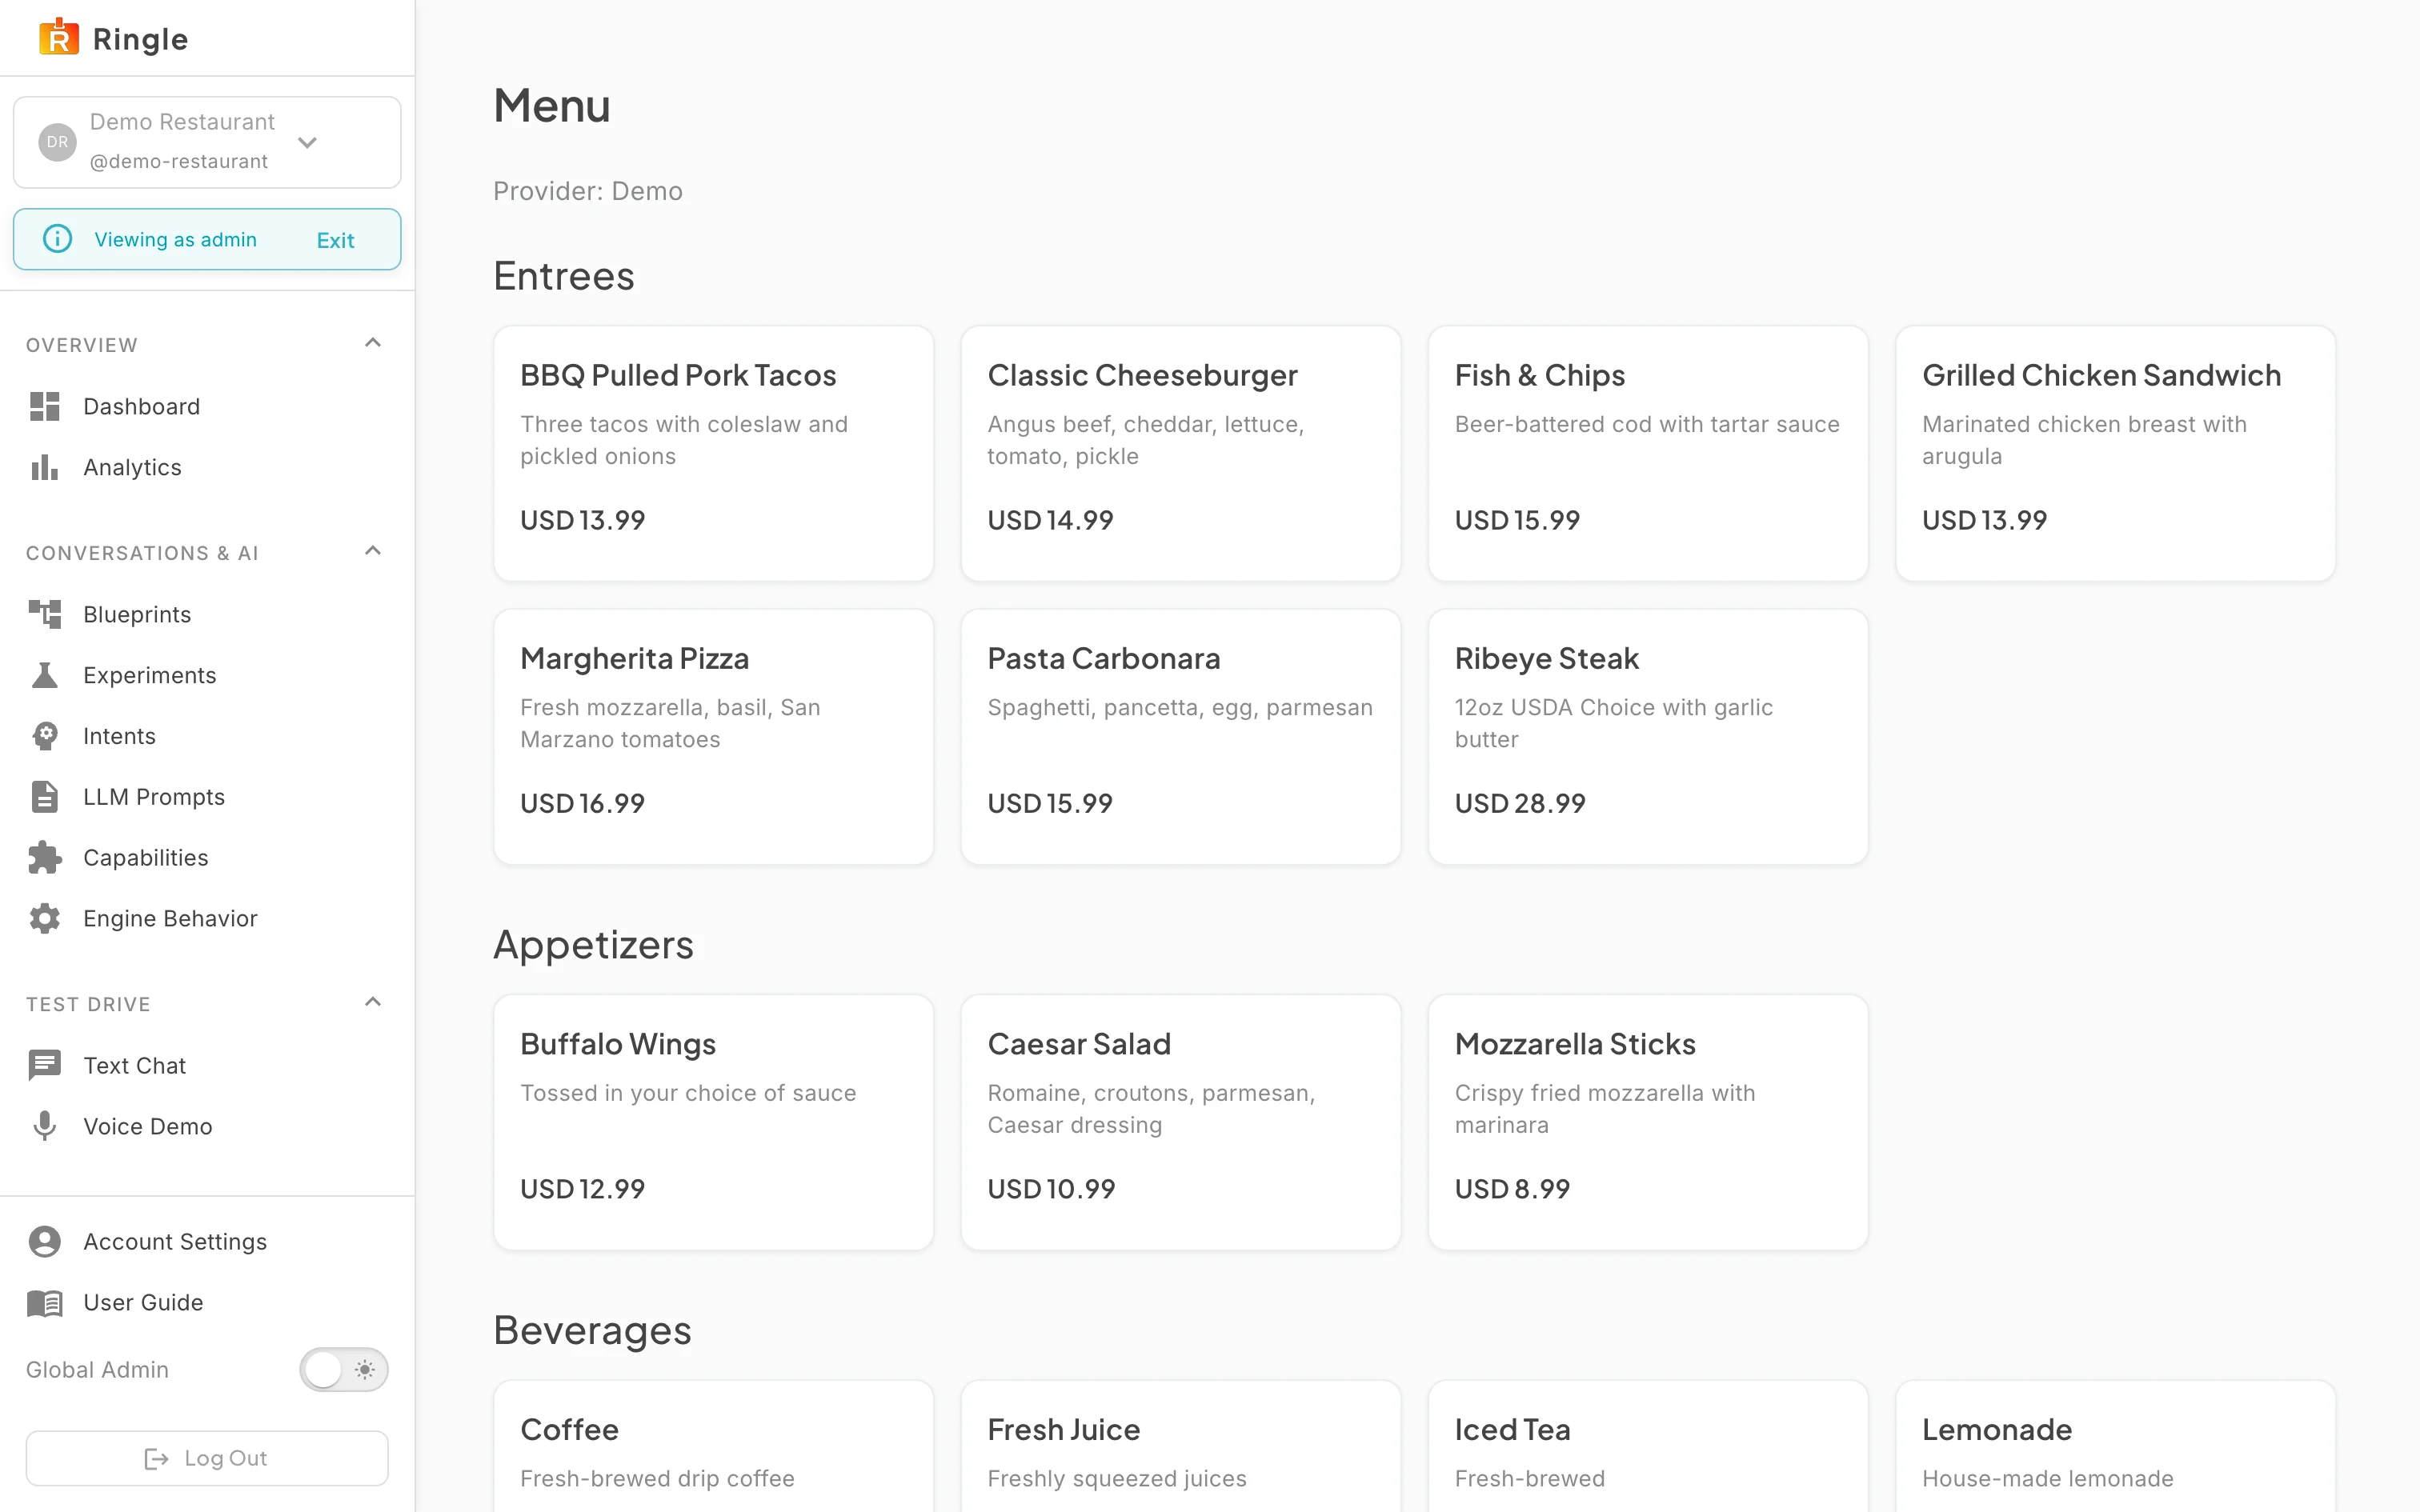
What you should see: The page is titled “Menu” with a provider line underneath; on the demo tenant it reads “Provider: Demo”. The menu loads below, grouped by category. The Demo Restaurant catalog has Appetizers, Entrees, Sides, and Beverages. This is the same catalog the assistant quotes when a caller or chat visitor asks about the menu.
Action: Browse the loaded menu.
What you should see: Items are grouped by category. Each category is a heading over a grid of cards. A card shows the item name, its description when the POS provides one, and the price. Items the POS marks unavailable carry an “Unavailable” chip. Items without a category are grouped under “Uncategorized”.
/menu (reached by URL; it has no sidebar entry).
Source component: pages/MenuPage.jsx in the portal
app.