Three Account & Access pages cover the tenant’s own record: Tenant Profile edits the business details and provider assignments, API Keys issues and revokes tenant-scoped keys for the REST API, and Payments creates ad-hoc payment links and checks their status.
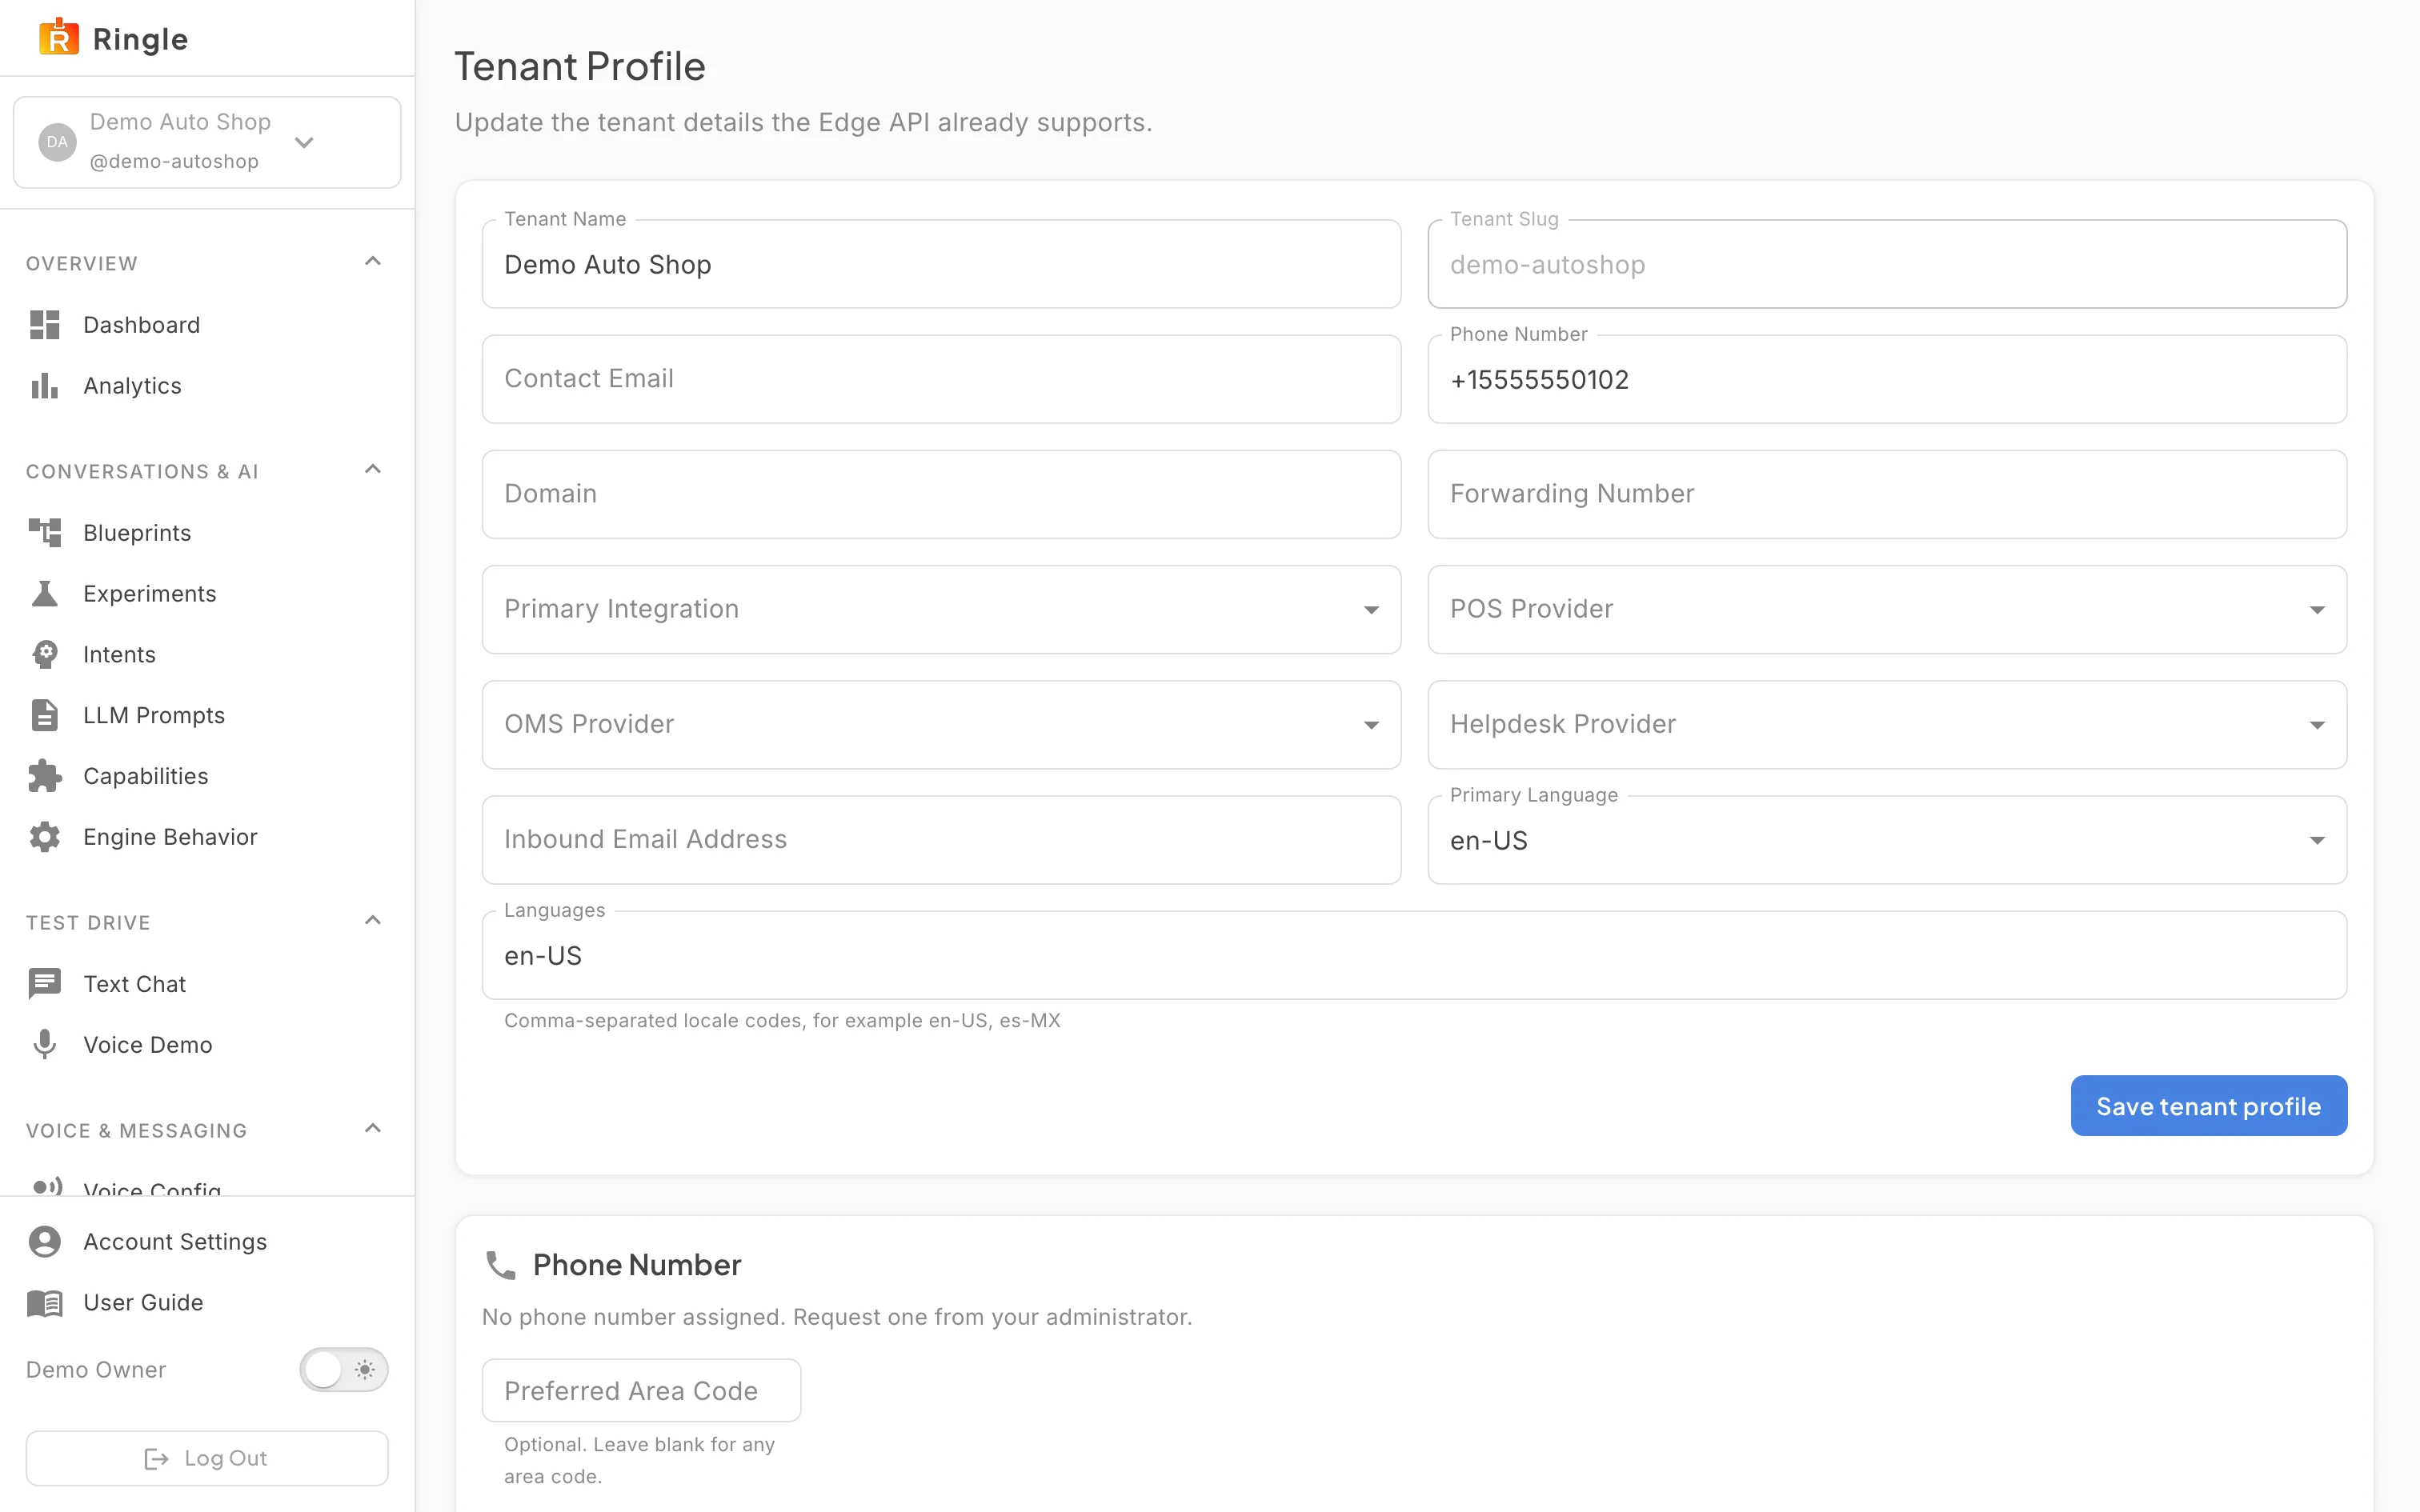
Action: Click Tenant Profile under Account & Access in the sidebar. Review the form. Only click Save tenant profile if you intend to change the live record.
What you should see: A single form appears. It has the tenant name, the locked slug, contact email, phone number, domain, and forwarding number. It also has the Primary Integration selector, the POS, OMS, and Helpdesk provider selectors, the inbound email address, the primary language, and the comma-separated language list. In the demo tenant the provider selectors are unset. Below the form, a Phone Number card shows the tenant’s assigned number and its status; when no number is assigned, the card instead reads “No phone number assigned” and offers a Request Phone Number form with a preferred area code and reason (requesting a number provisions a real line, so this guide does not submit it).
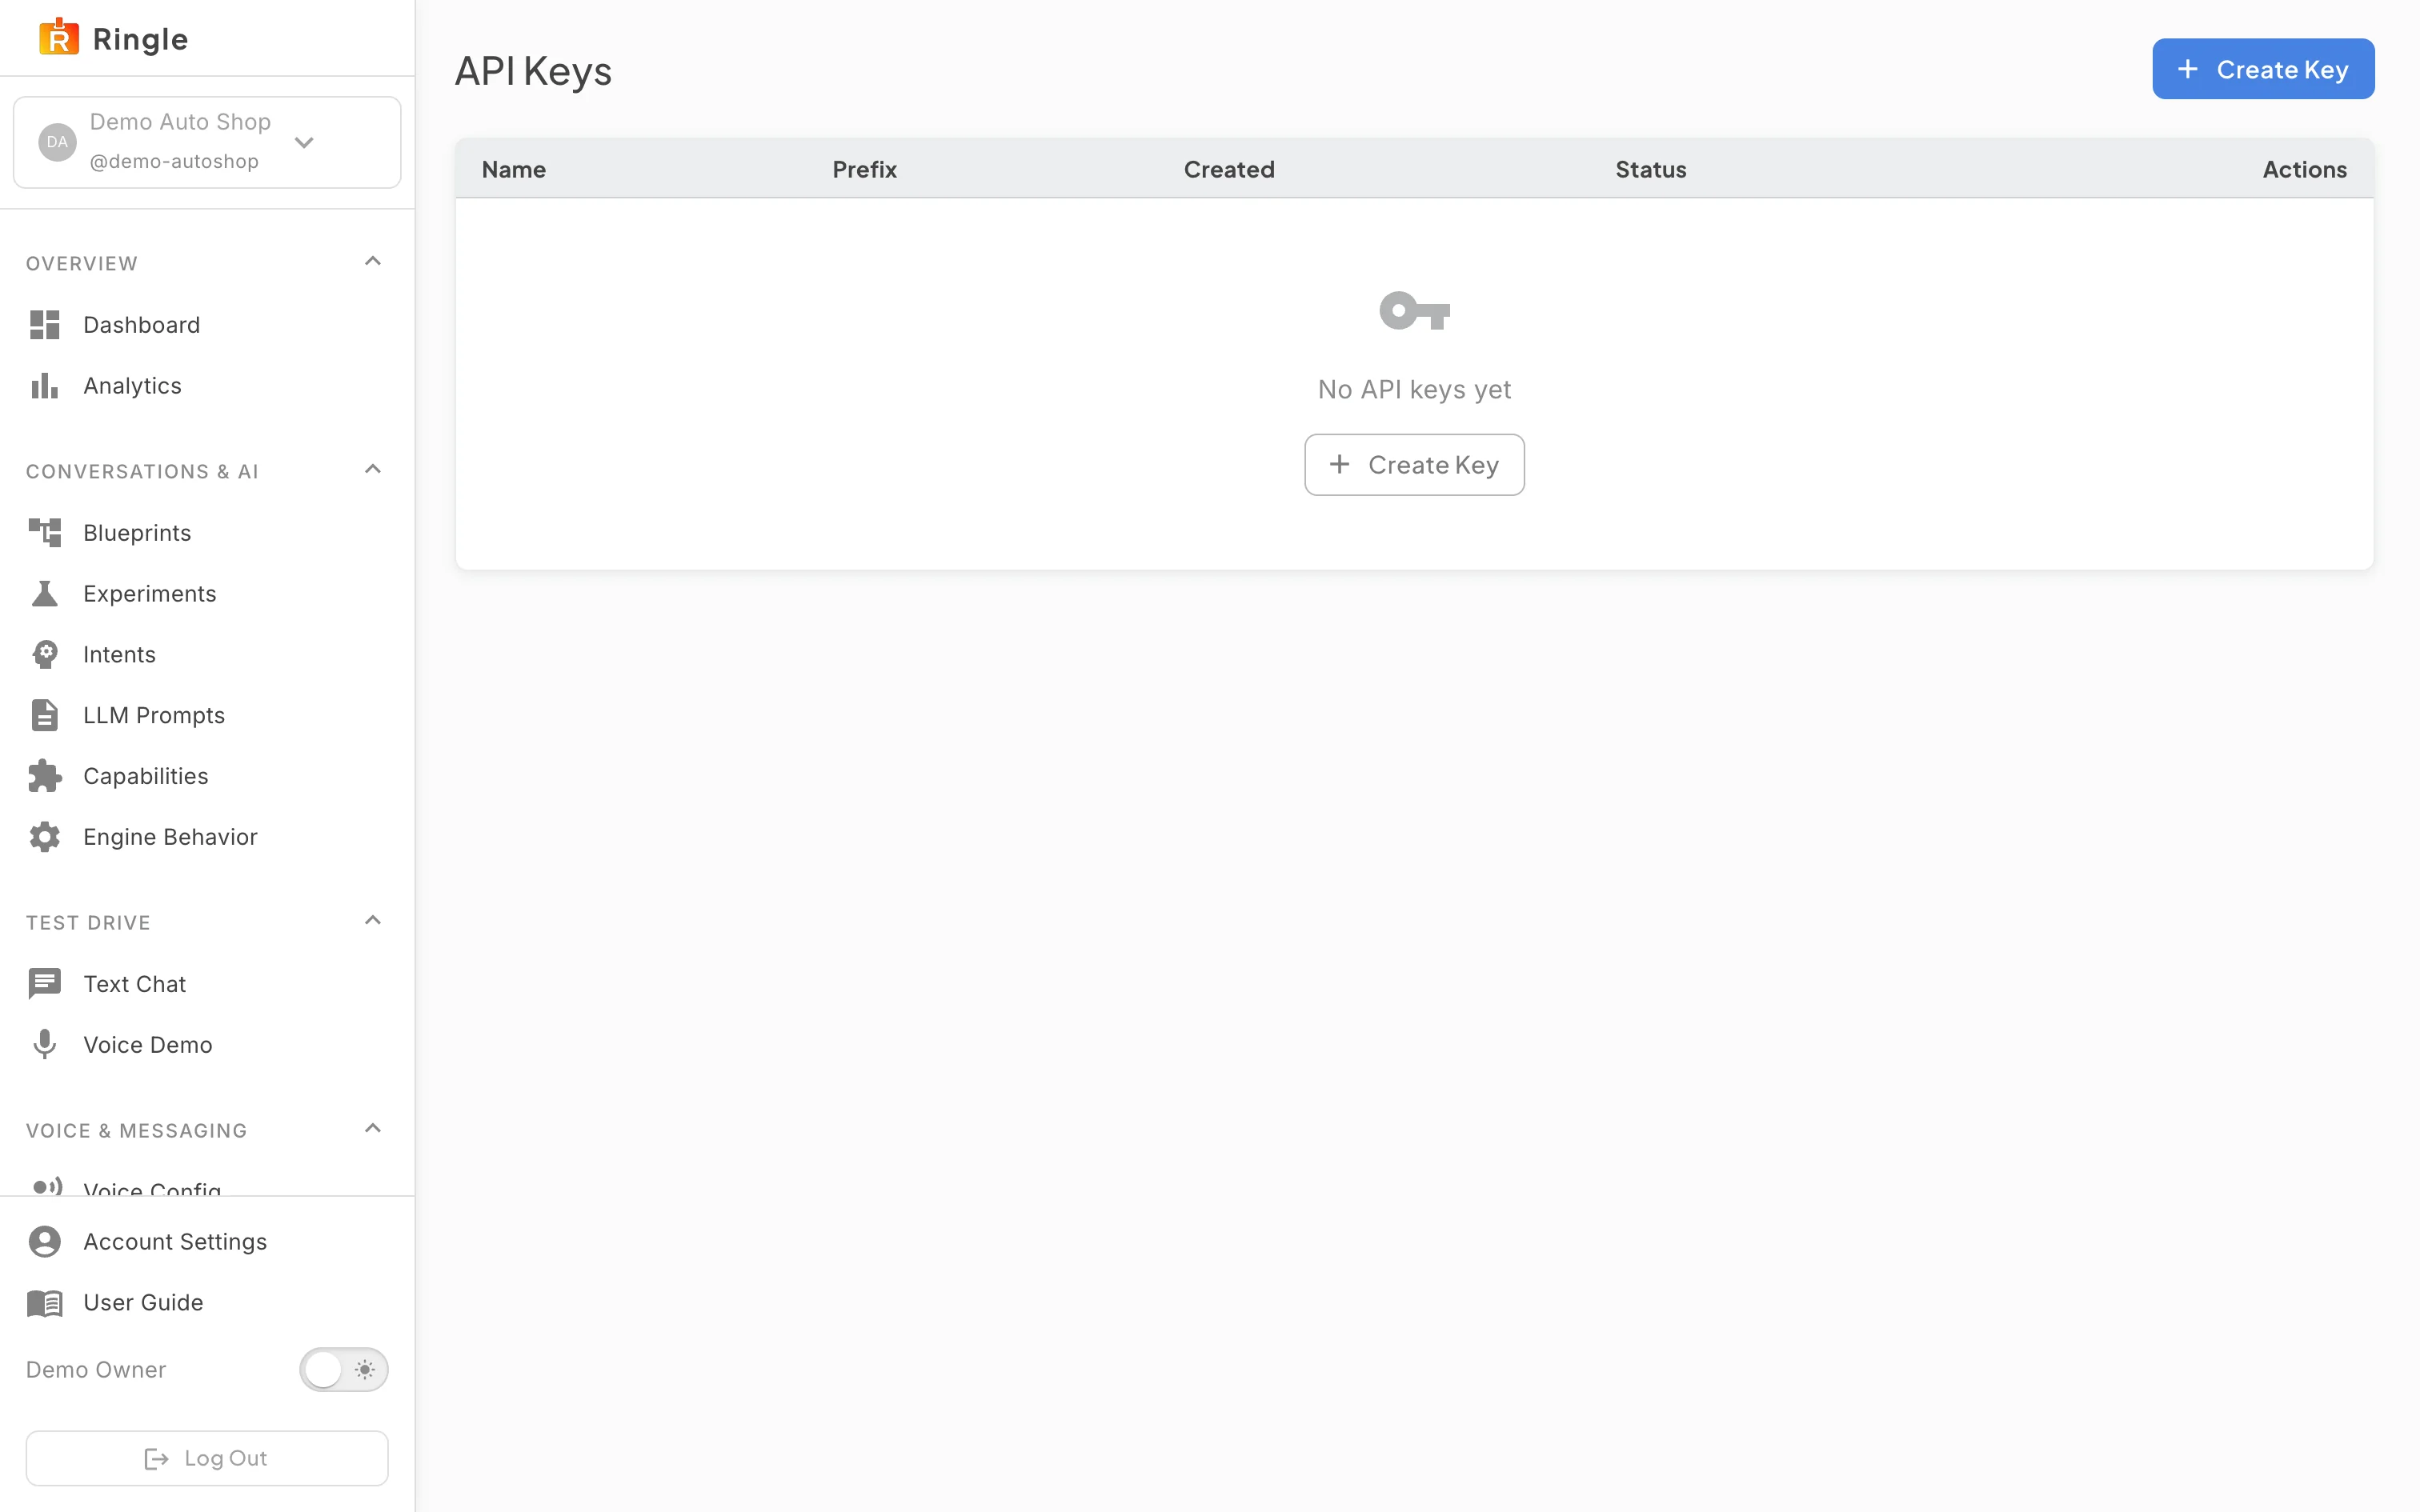
Action: Click API Keys in the sidebar.
What you should see: The API Keys page lists each
key with its name, prefix (such as rgl_tenant_2df7),
creation date, a status chip, and a revoke action. A Create Key button
sits in the header. Only the prefix is stored for display. The full
secret can never be retrieved later.
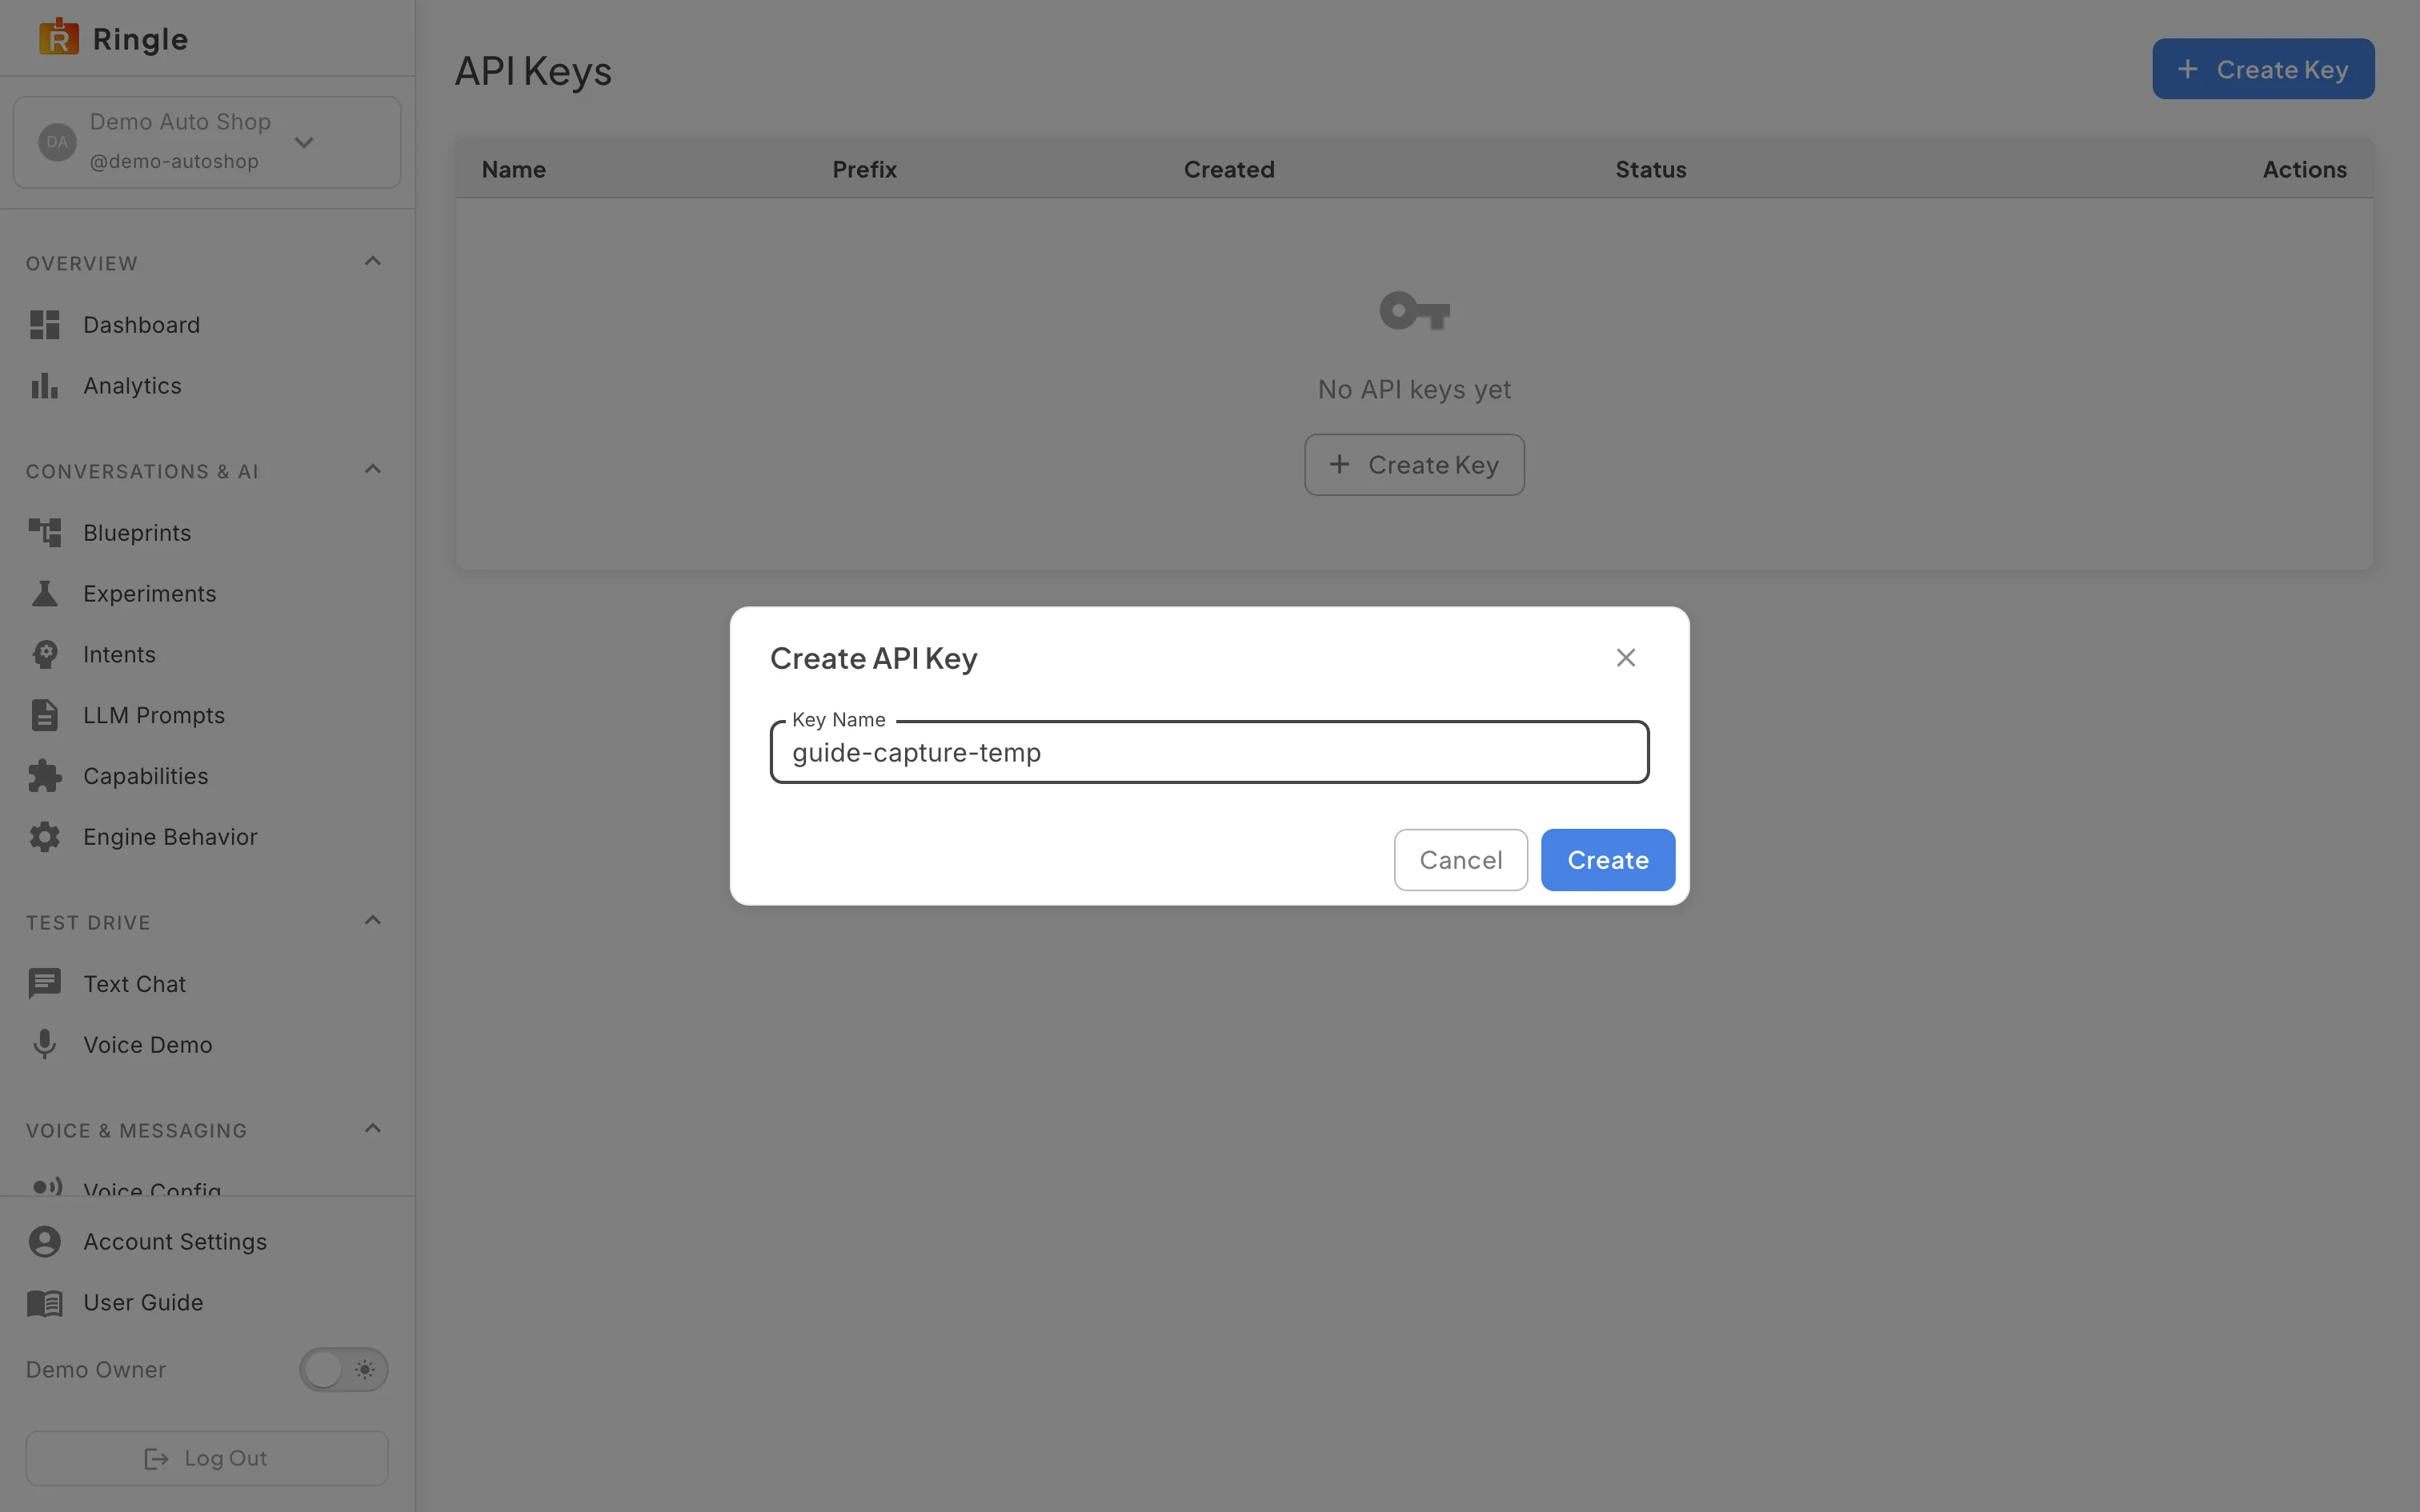
Action: Click Create Key. Enter a descriptive name.
What you should see: The Create API Key dialog has a single Key Name field. There are no scope options because tenant keys carry the tenant’s API access. Create stays disabled until a name is entered.
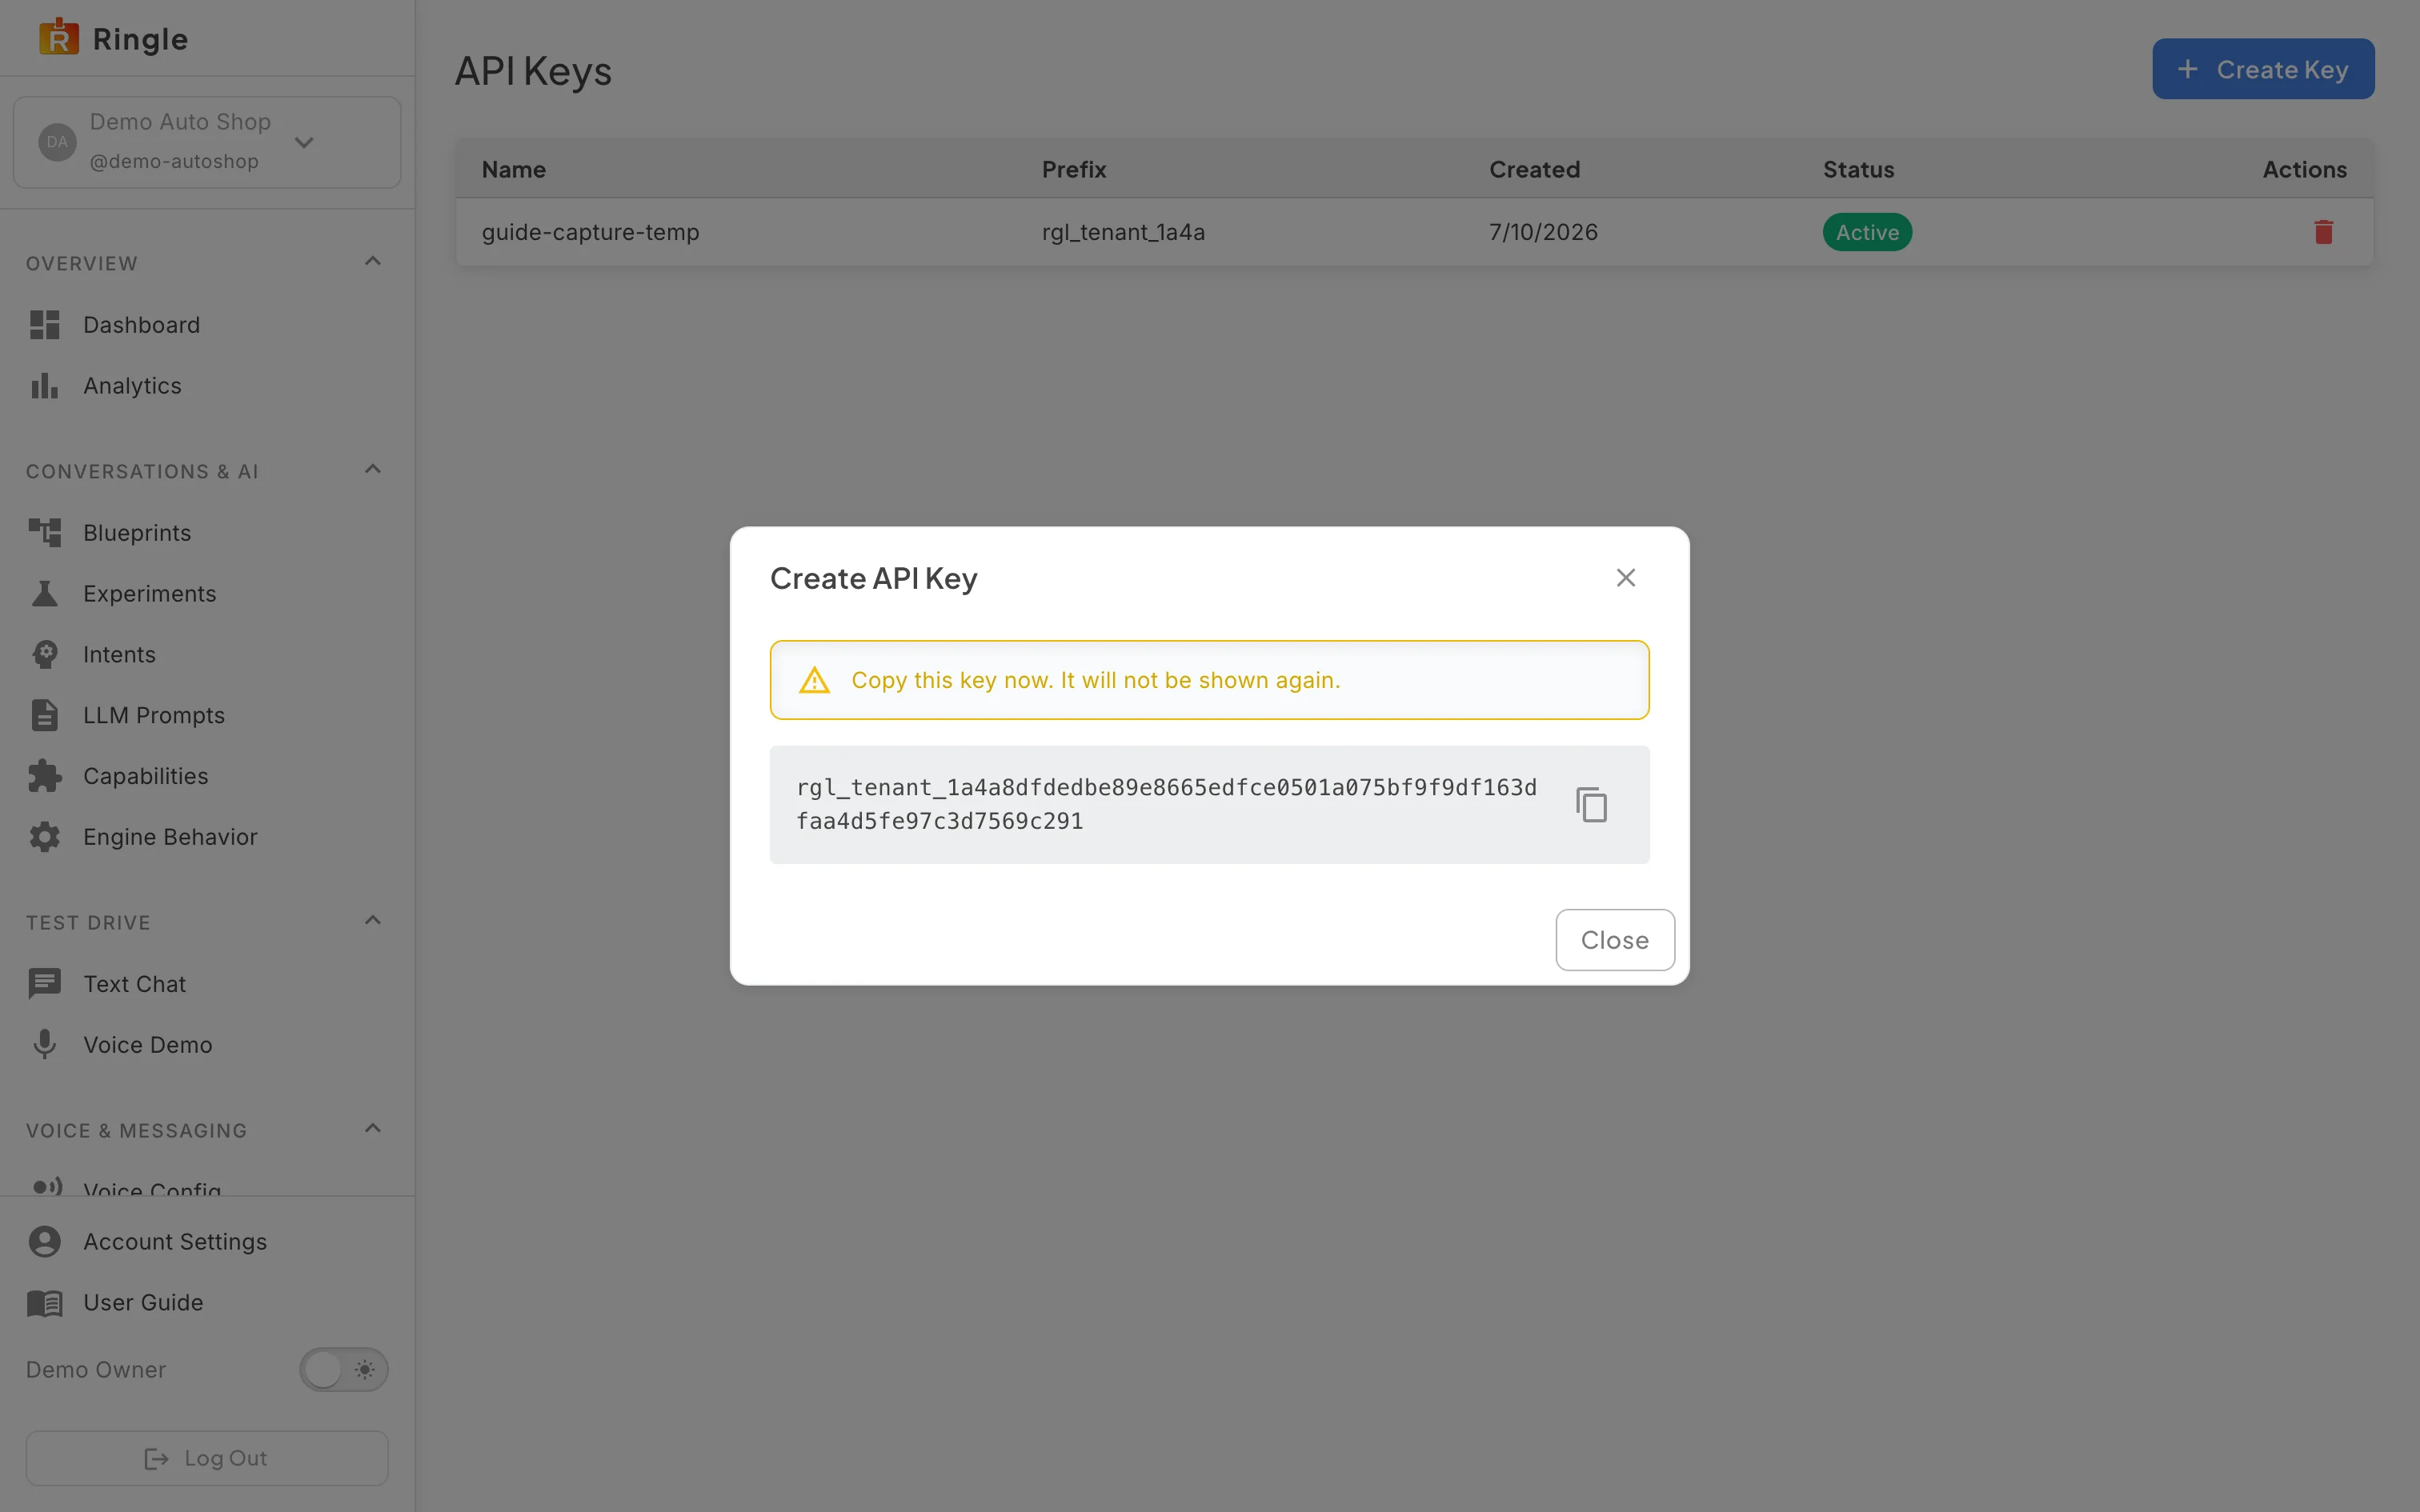
Action: Click Create. Copy the key immediately using the copy button. Store it somewhere safe. Then click Close.
What you should see: The dialog swaps to a one-time
reveal: a warning that the key will not be shown again and the full
secret starting with rgl_tenant_. Once you close this
dialog, the secret is gone for good. The list only ever shows the
prefix. (The key visible in this capture was created for this guide and
revoked in the same session.)
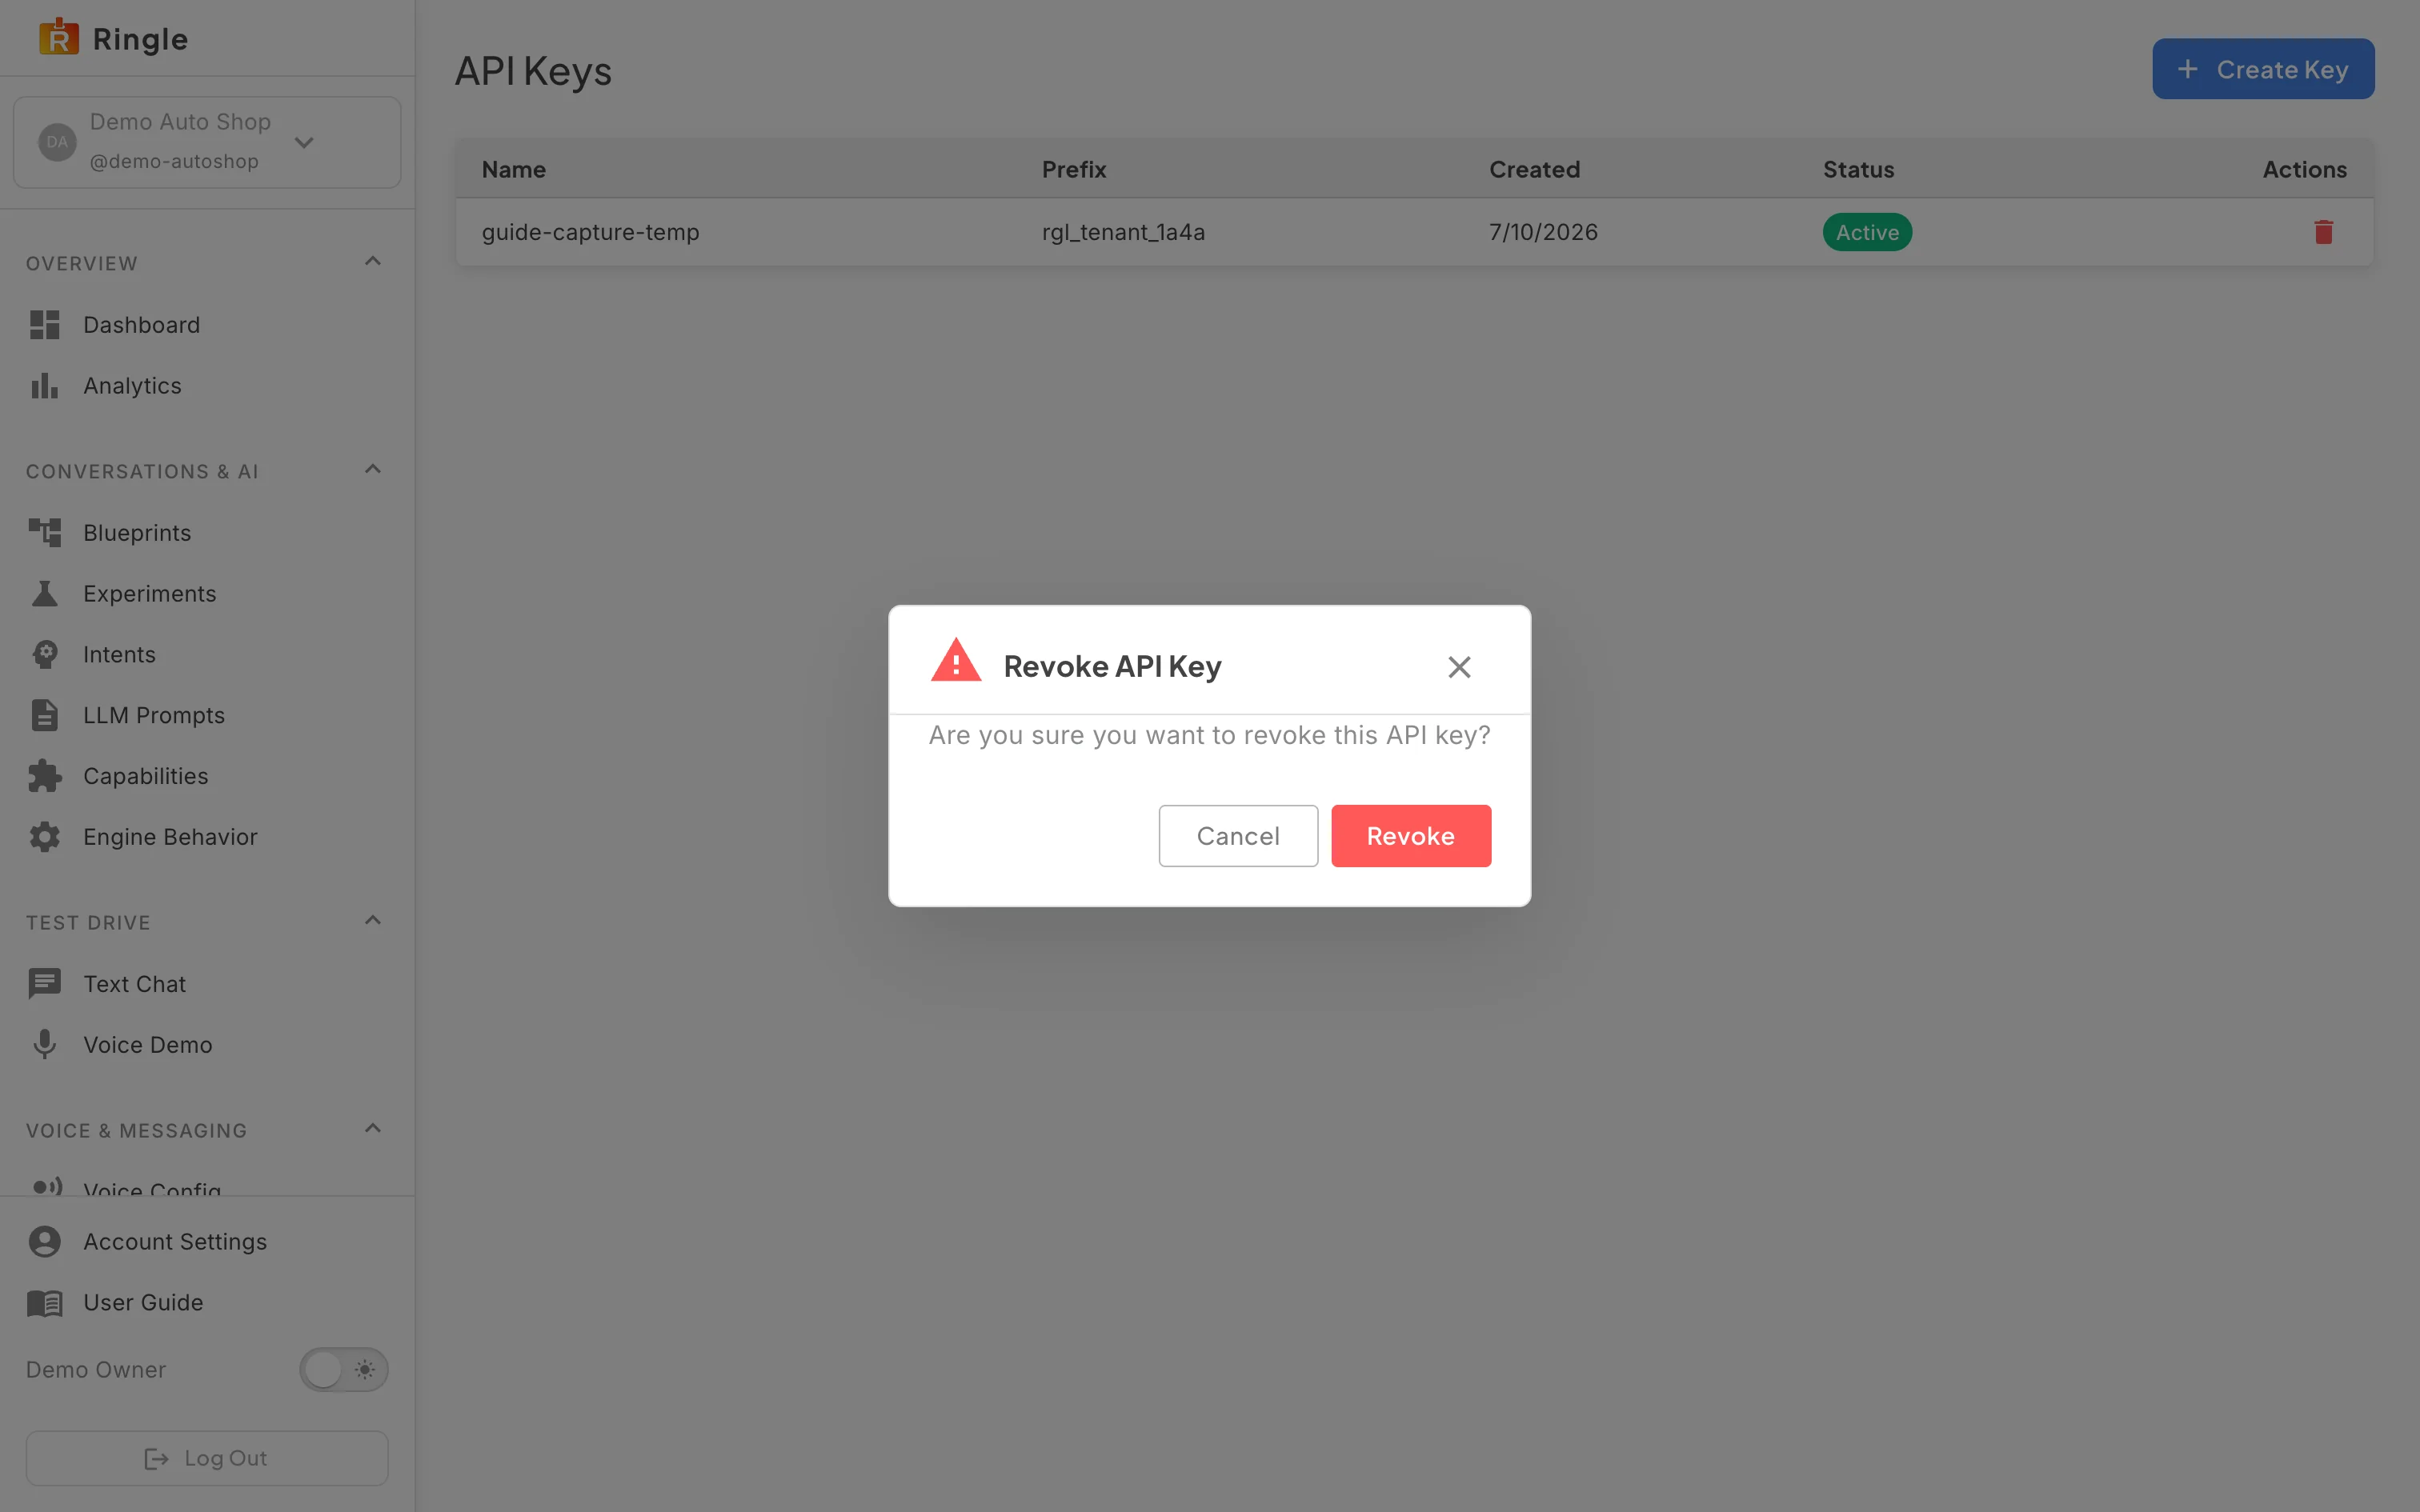
Action: Click the red revoke icon on the row of the key you want to retire.
What you should see: A Revoke API Key confirmation dialog appears. It asks “Are you sure you want to revoke this API key?” and has Cancel and a red Revoke button. Revocation is immediate and permanent. There is no un-revoke.
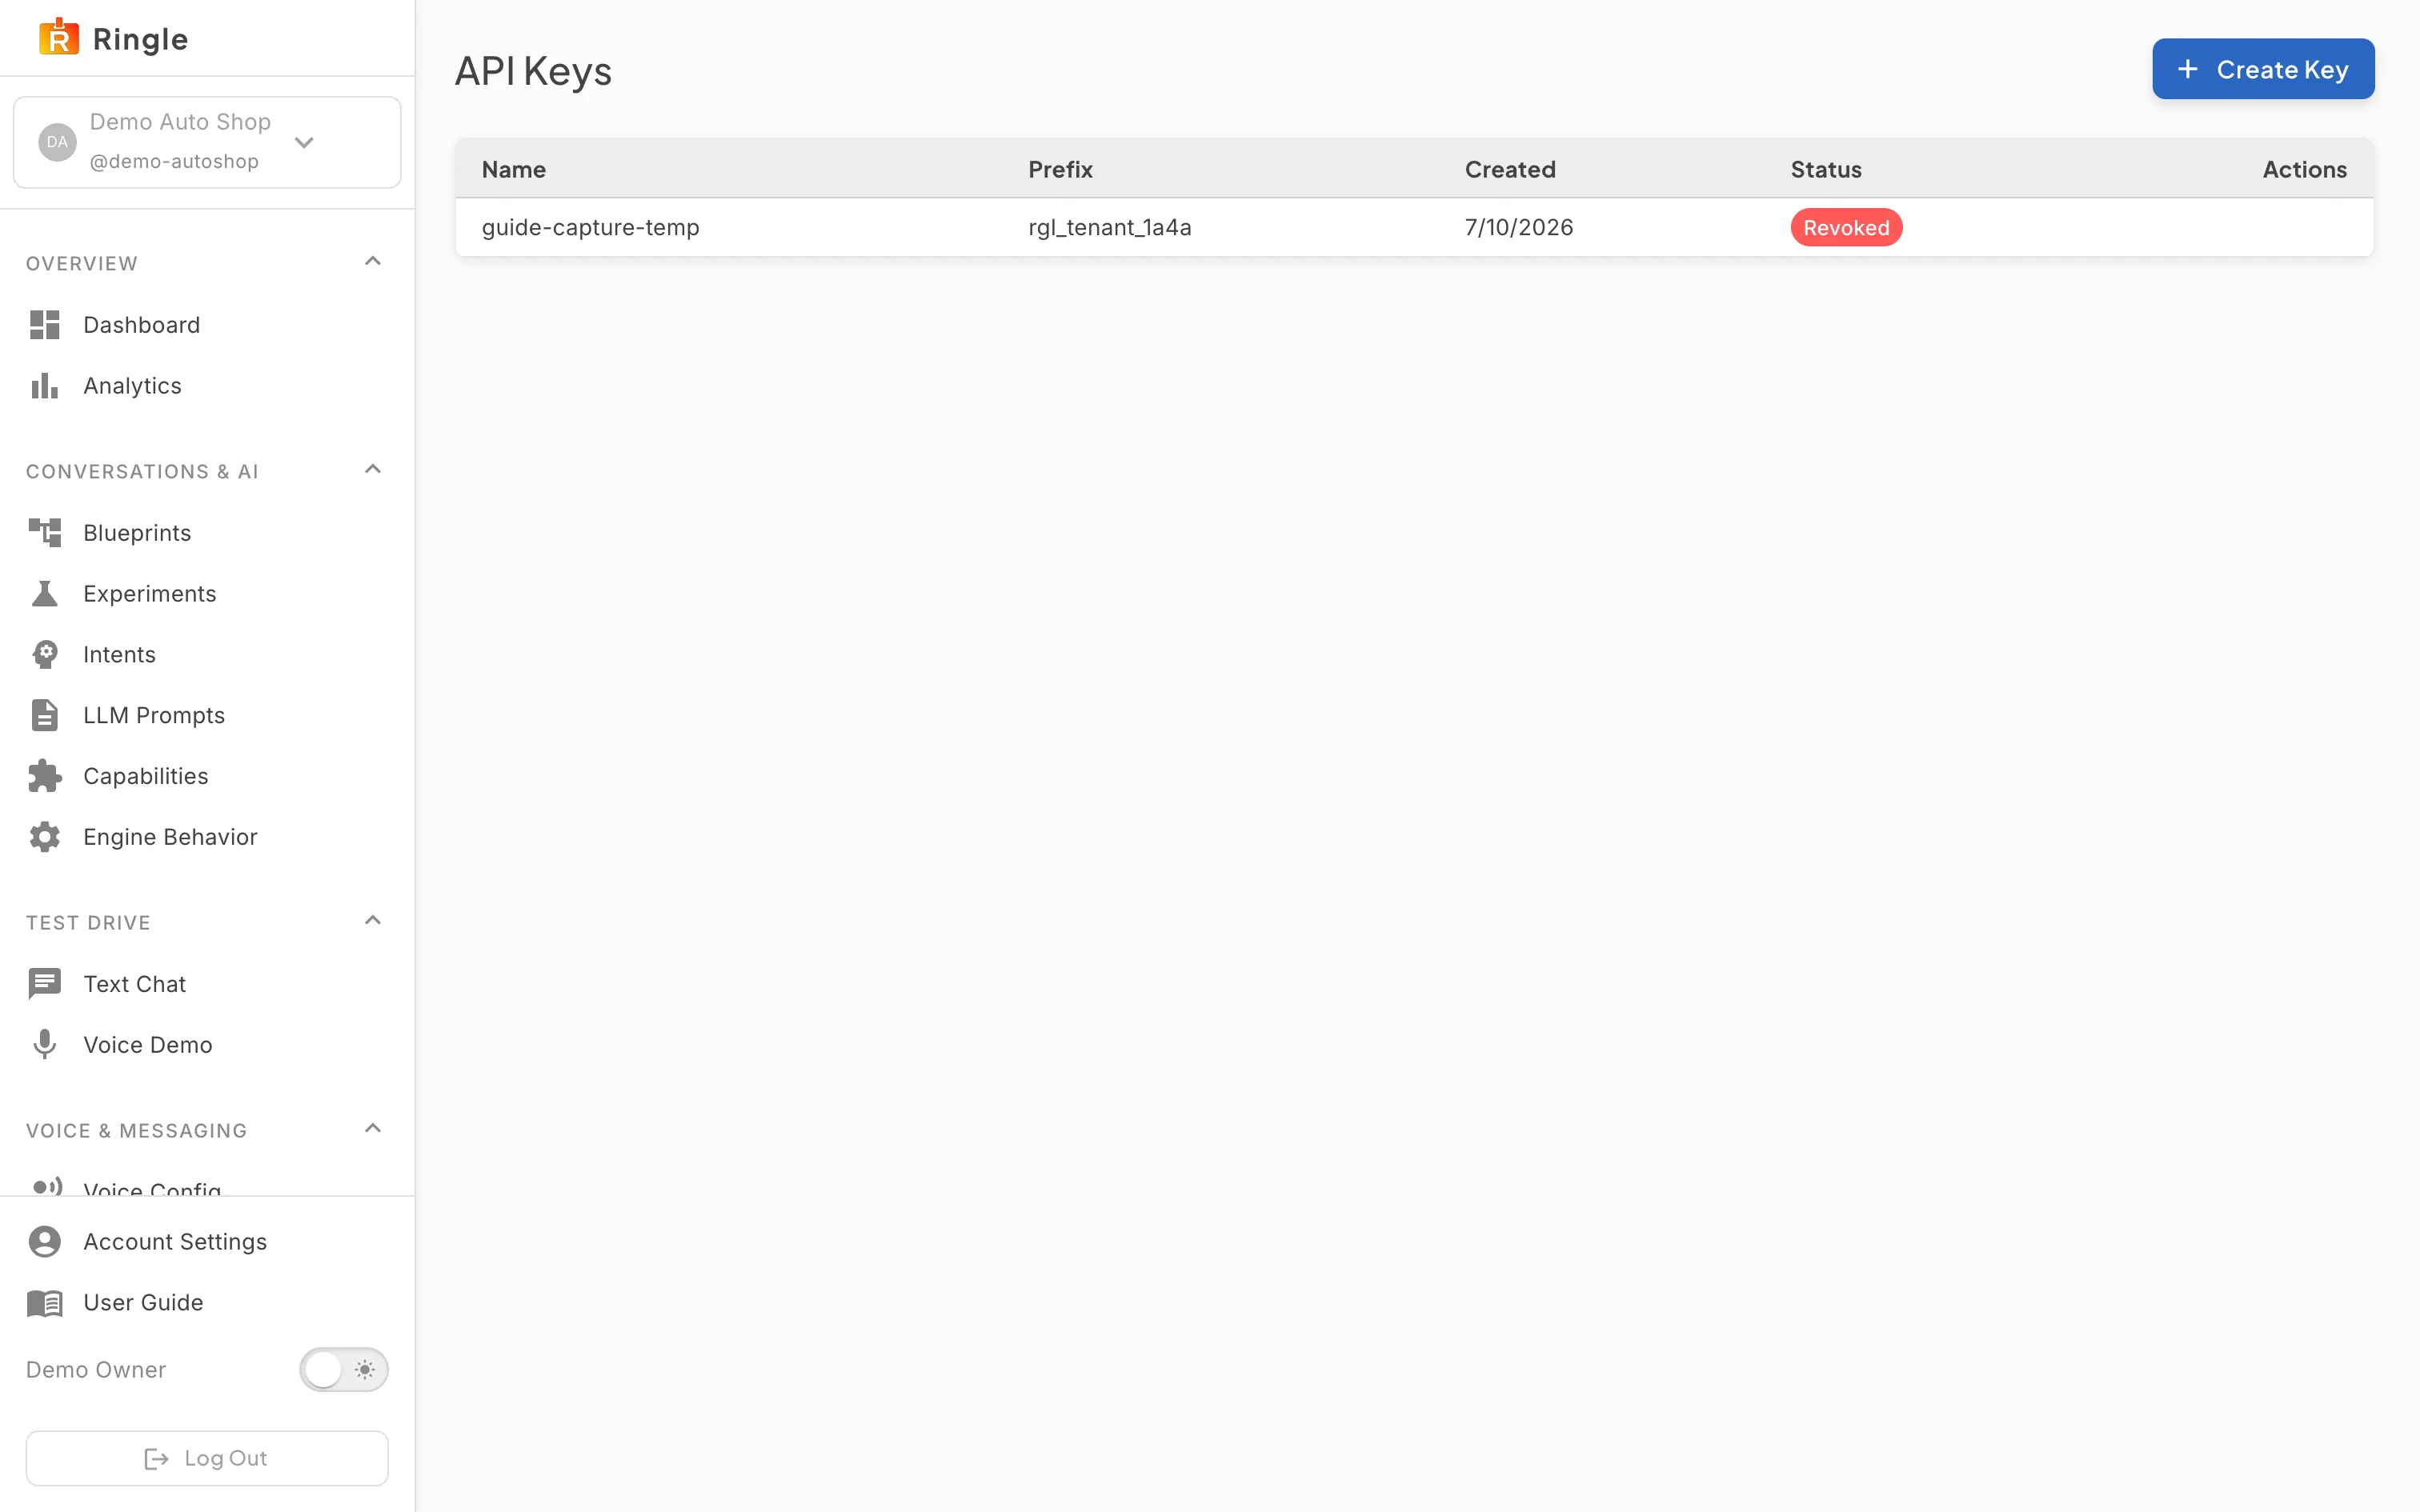
Action: Click Revoke to confirm.
What you should see: The dialog closes and the key stops authenticating immediately. The Status column updates to a red Revoked chip and the revoke action drops off the row. The key shown revoked here is the guide-capture-temp key created in step 4.
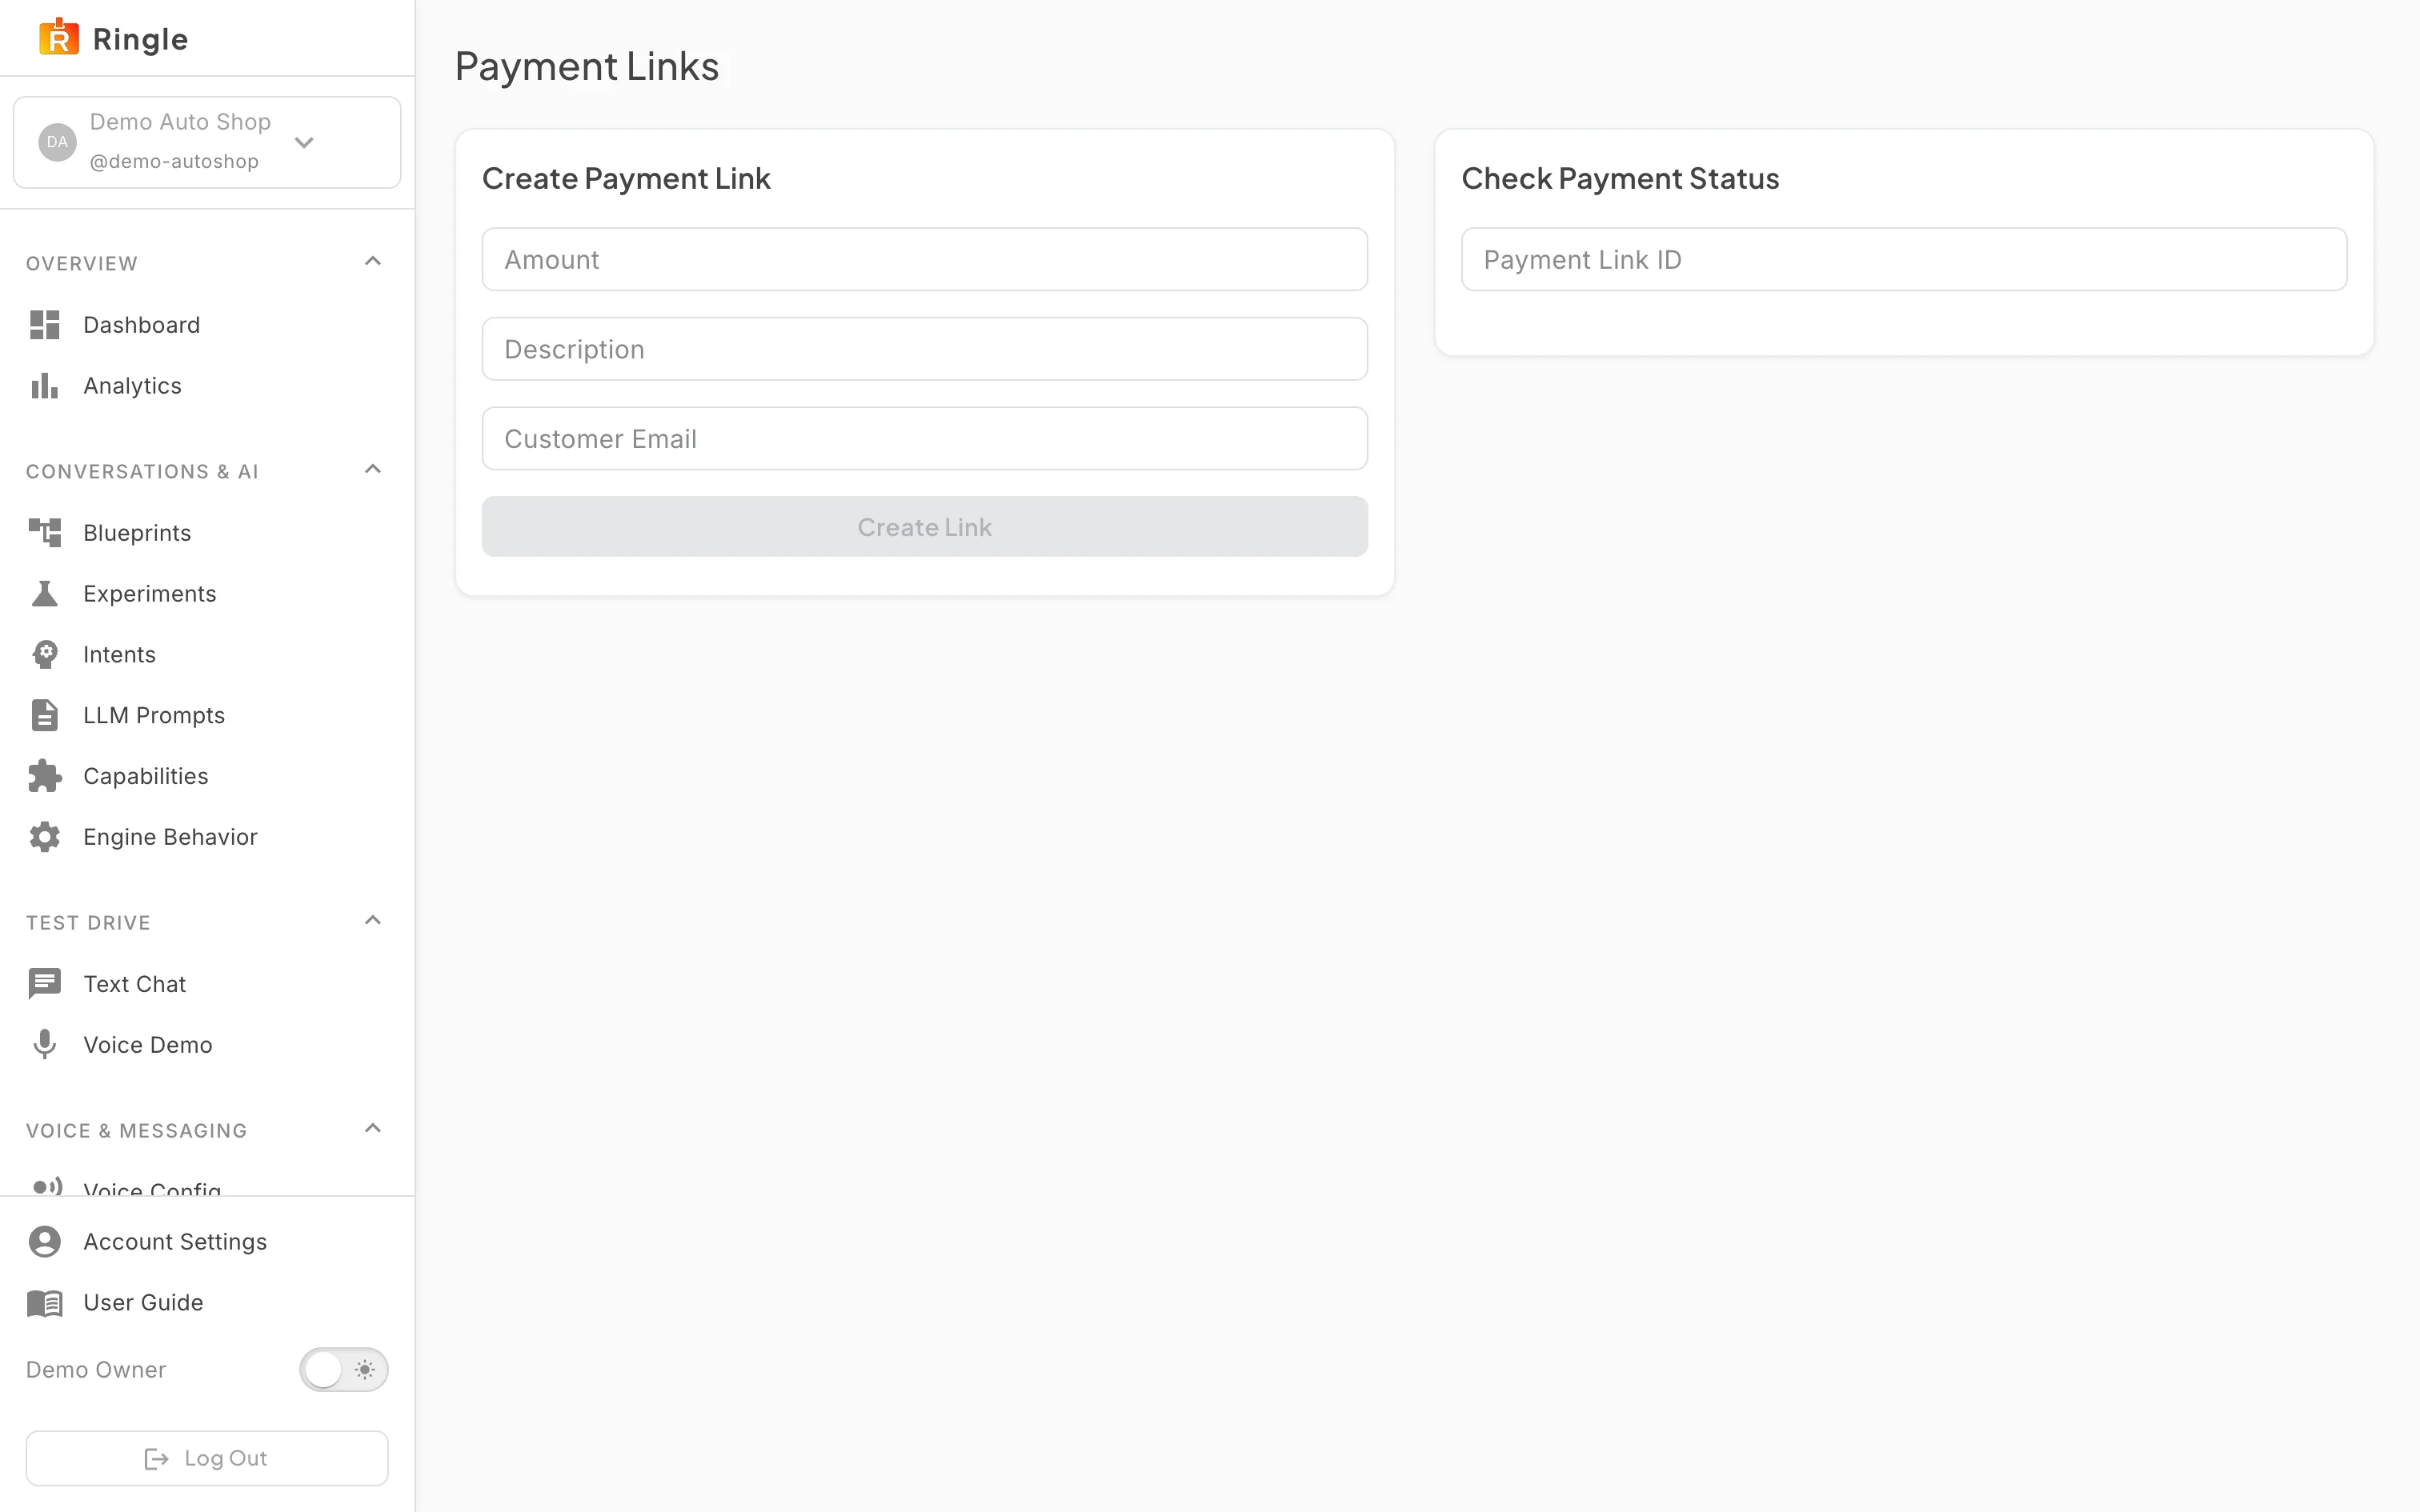
Action: Click Payments in the sidebar.
What you should see: The Payment Links page has two cards. Create Payment Link takes an amount, an optional description, and a customer email, and returns a shareable payment URL. Create Link stays disabled until an amount is entered. Check Payment Status looks up a single link by its ID and shows its status and amount. There is no browsable history of past links on this page.
/settings/tenant,
/settings/api-keys, and /settings/payments,
sidebar items “Tenant Profile”, “API Keys”, and “Payments” under Account
& Access, all gated by the tenants.settings.manage
permission. Source: pages/settings/TenantProfilePage.jsx,
pages/settings/TenantApiKeysPage.jsx, and
pages/settings/PaymentLinksPage.jsx.X-Api-Key header and are stored hashed; the UI keeps only
the prefix for identification.guide-capture-temp, prefix rgl_tenant_1a4a)
was created solely for this guide and was revoked in the same session;
the secret shown is dead.