Talk to your workspace’s AI assistant by voice, and choose the voice it speaks with using the voice picker on the workspace Settings page.
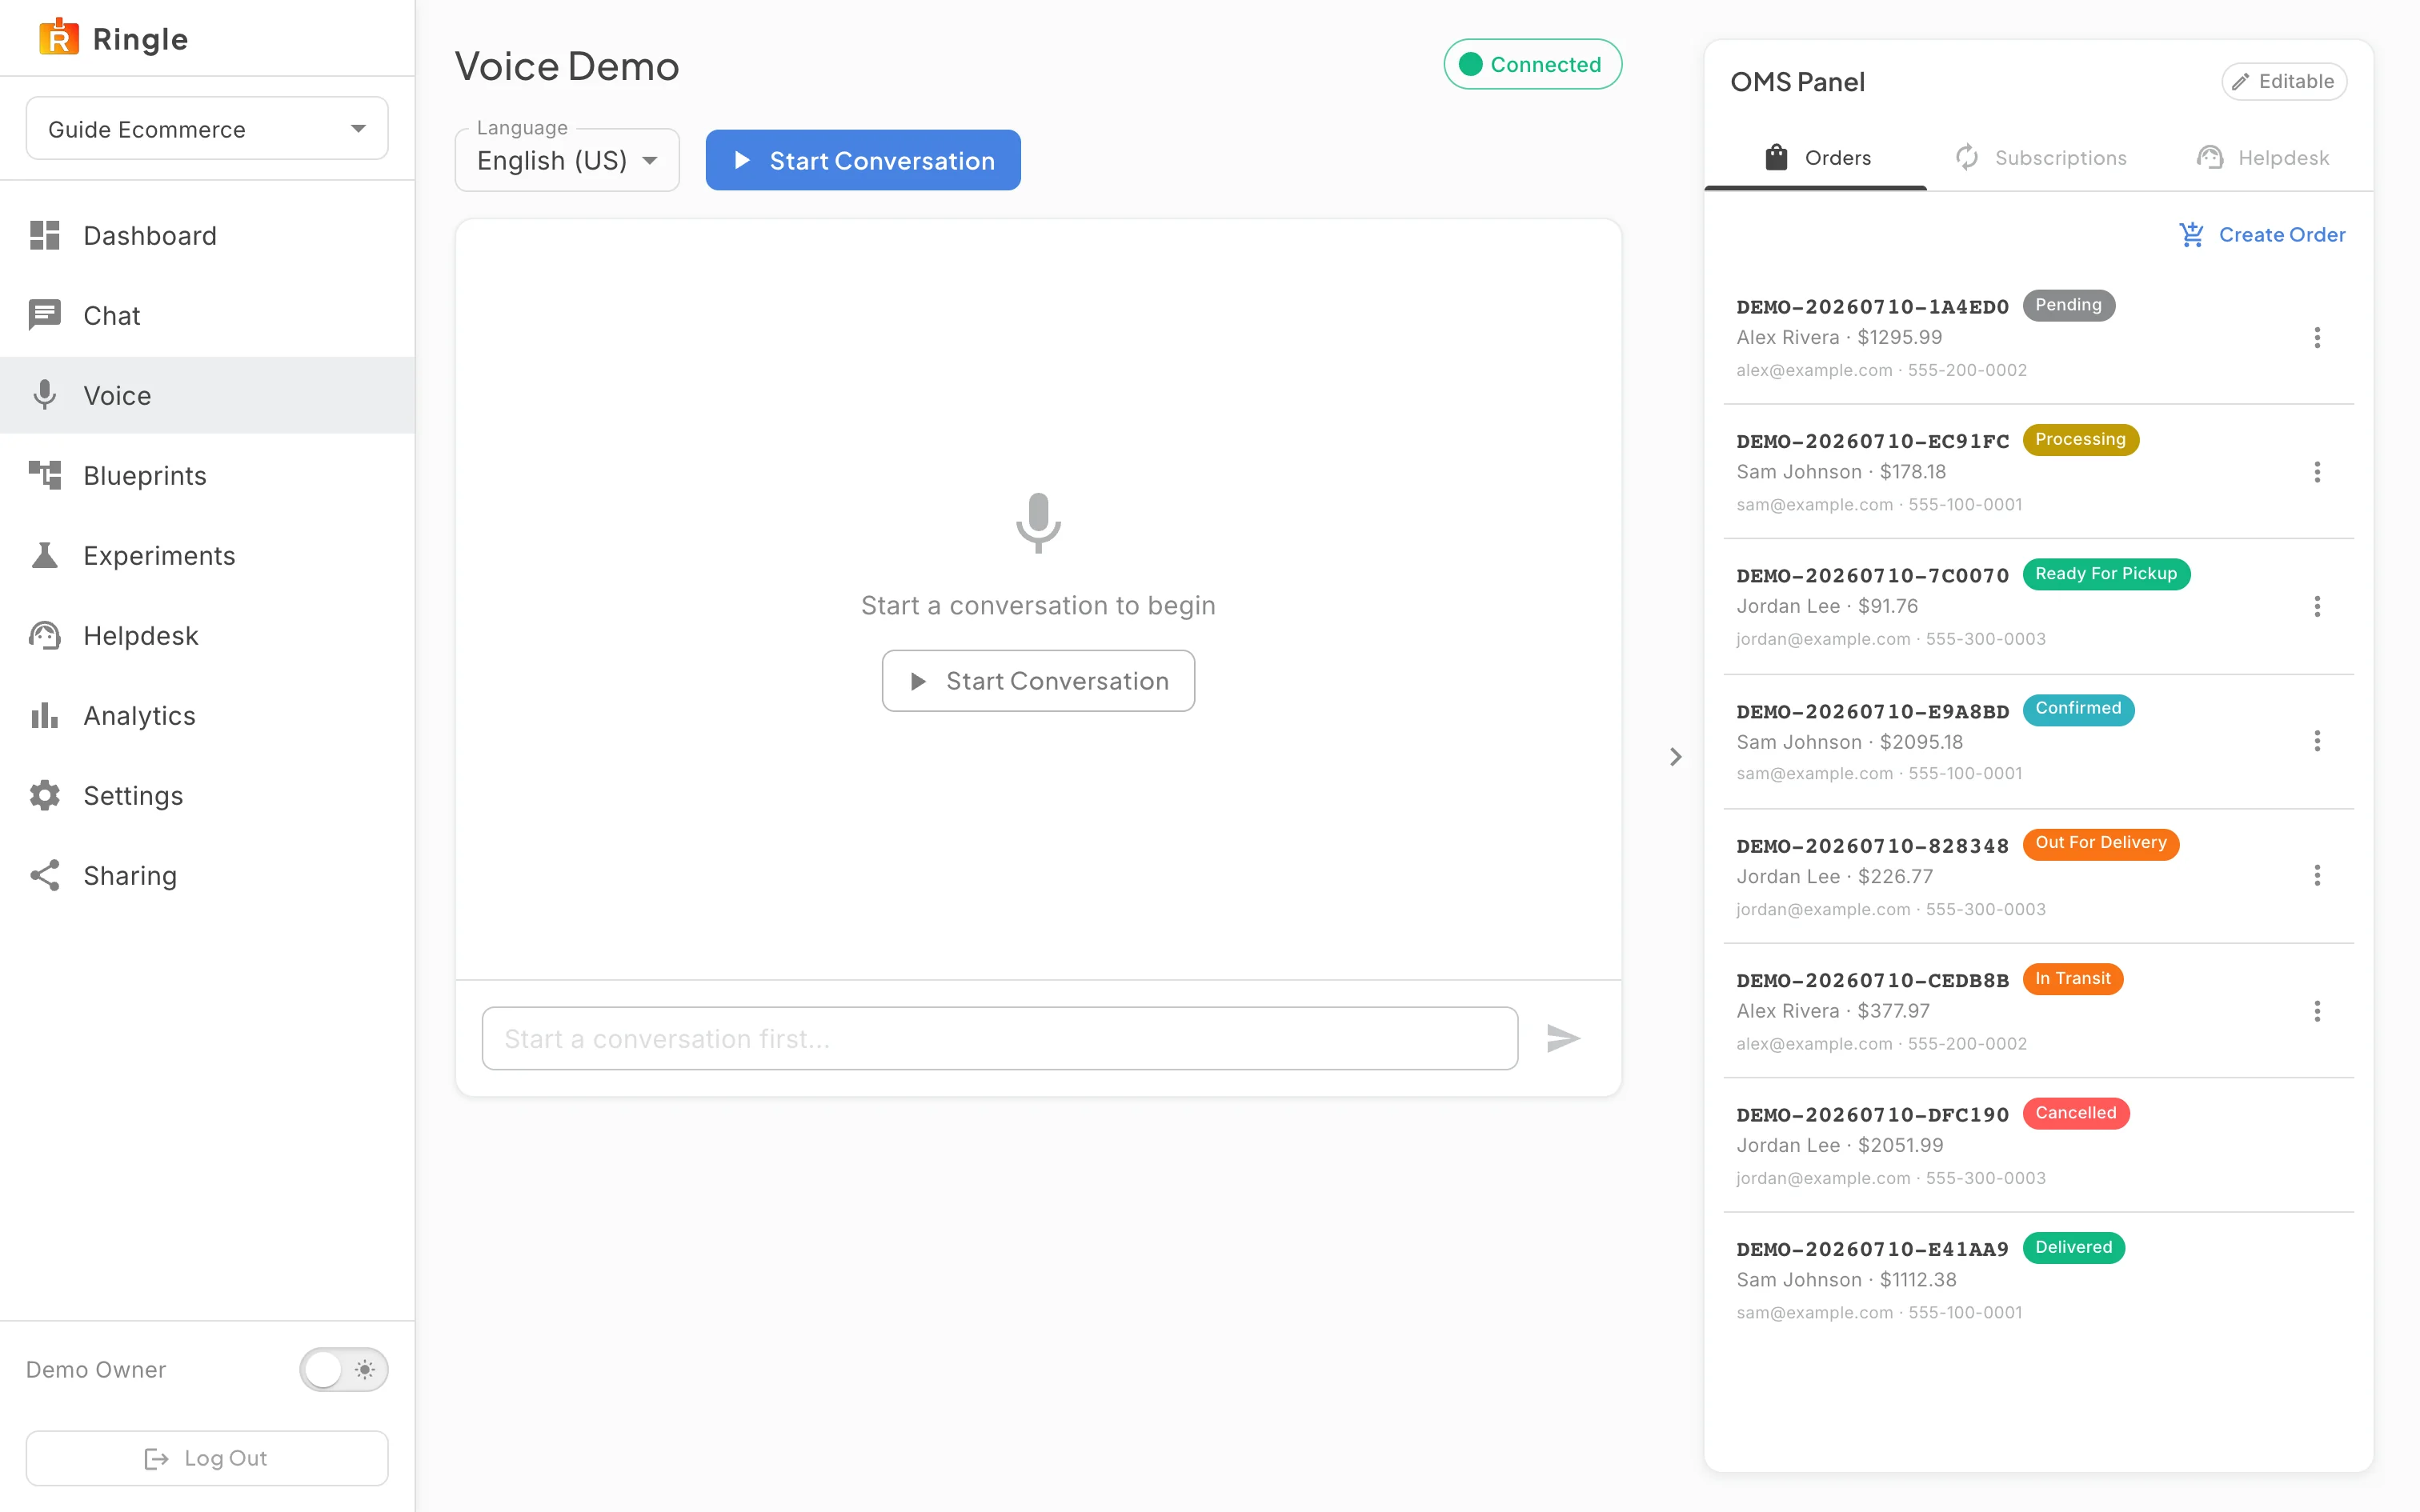
Action: Click Voice in the workspace sidebar, or Start voice on the dashboard.
What you should see: The Voice Demo page opens with a Connected status chip, a Language selector, and a Start Conversation button. The layout mirrors the chat page. The same OMS panel appears on the right (see the “Text chat and the OMS panel” guide for the tabs and sector rules).
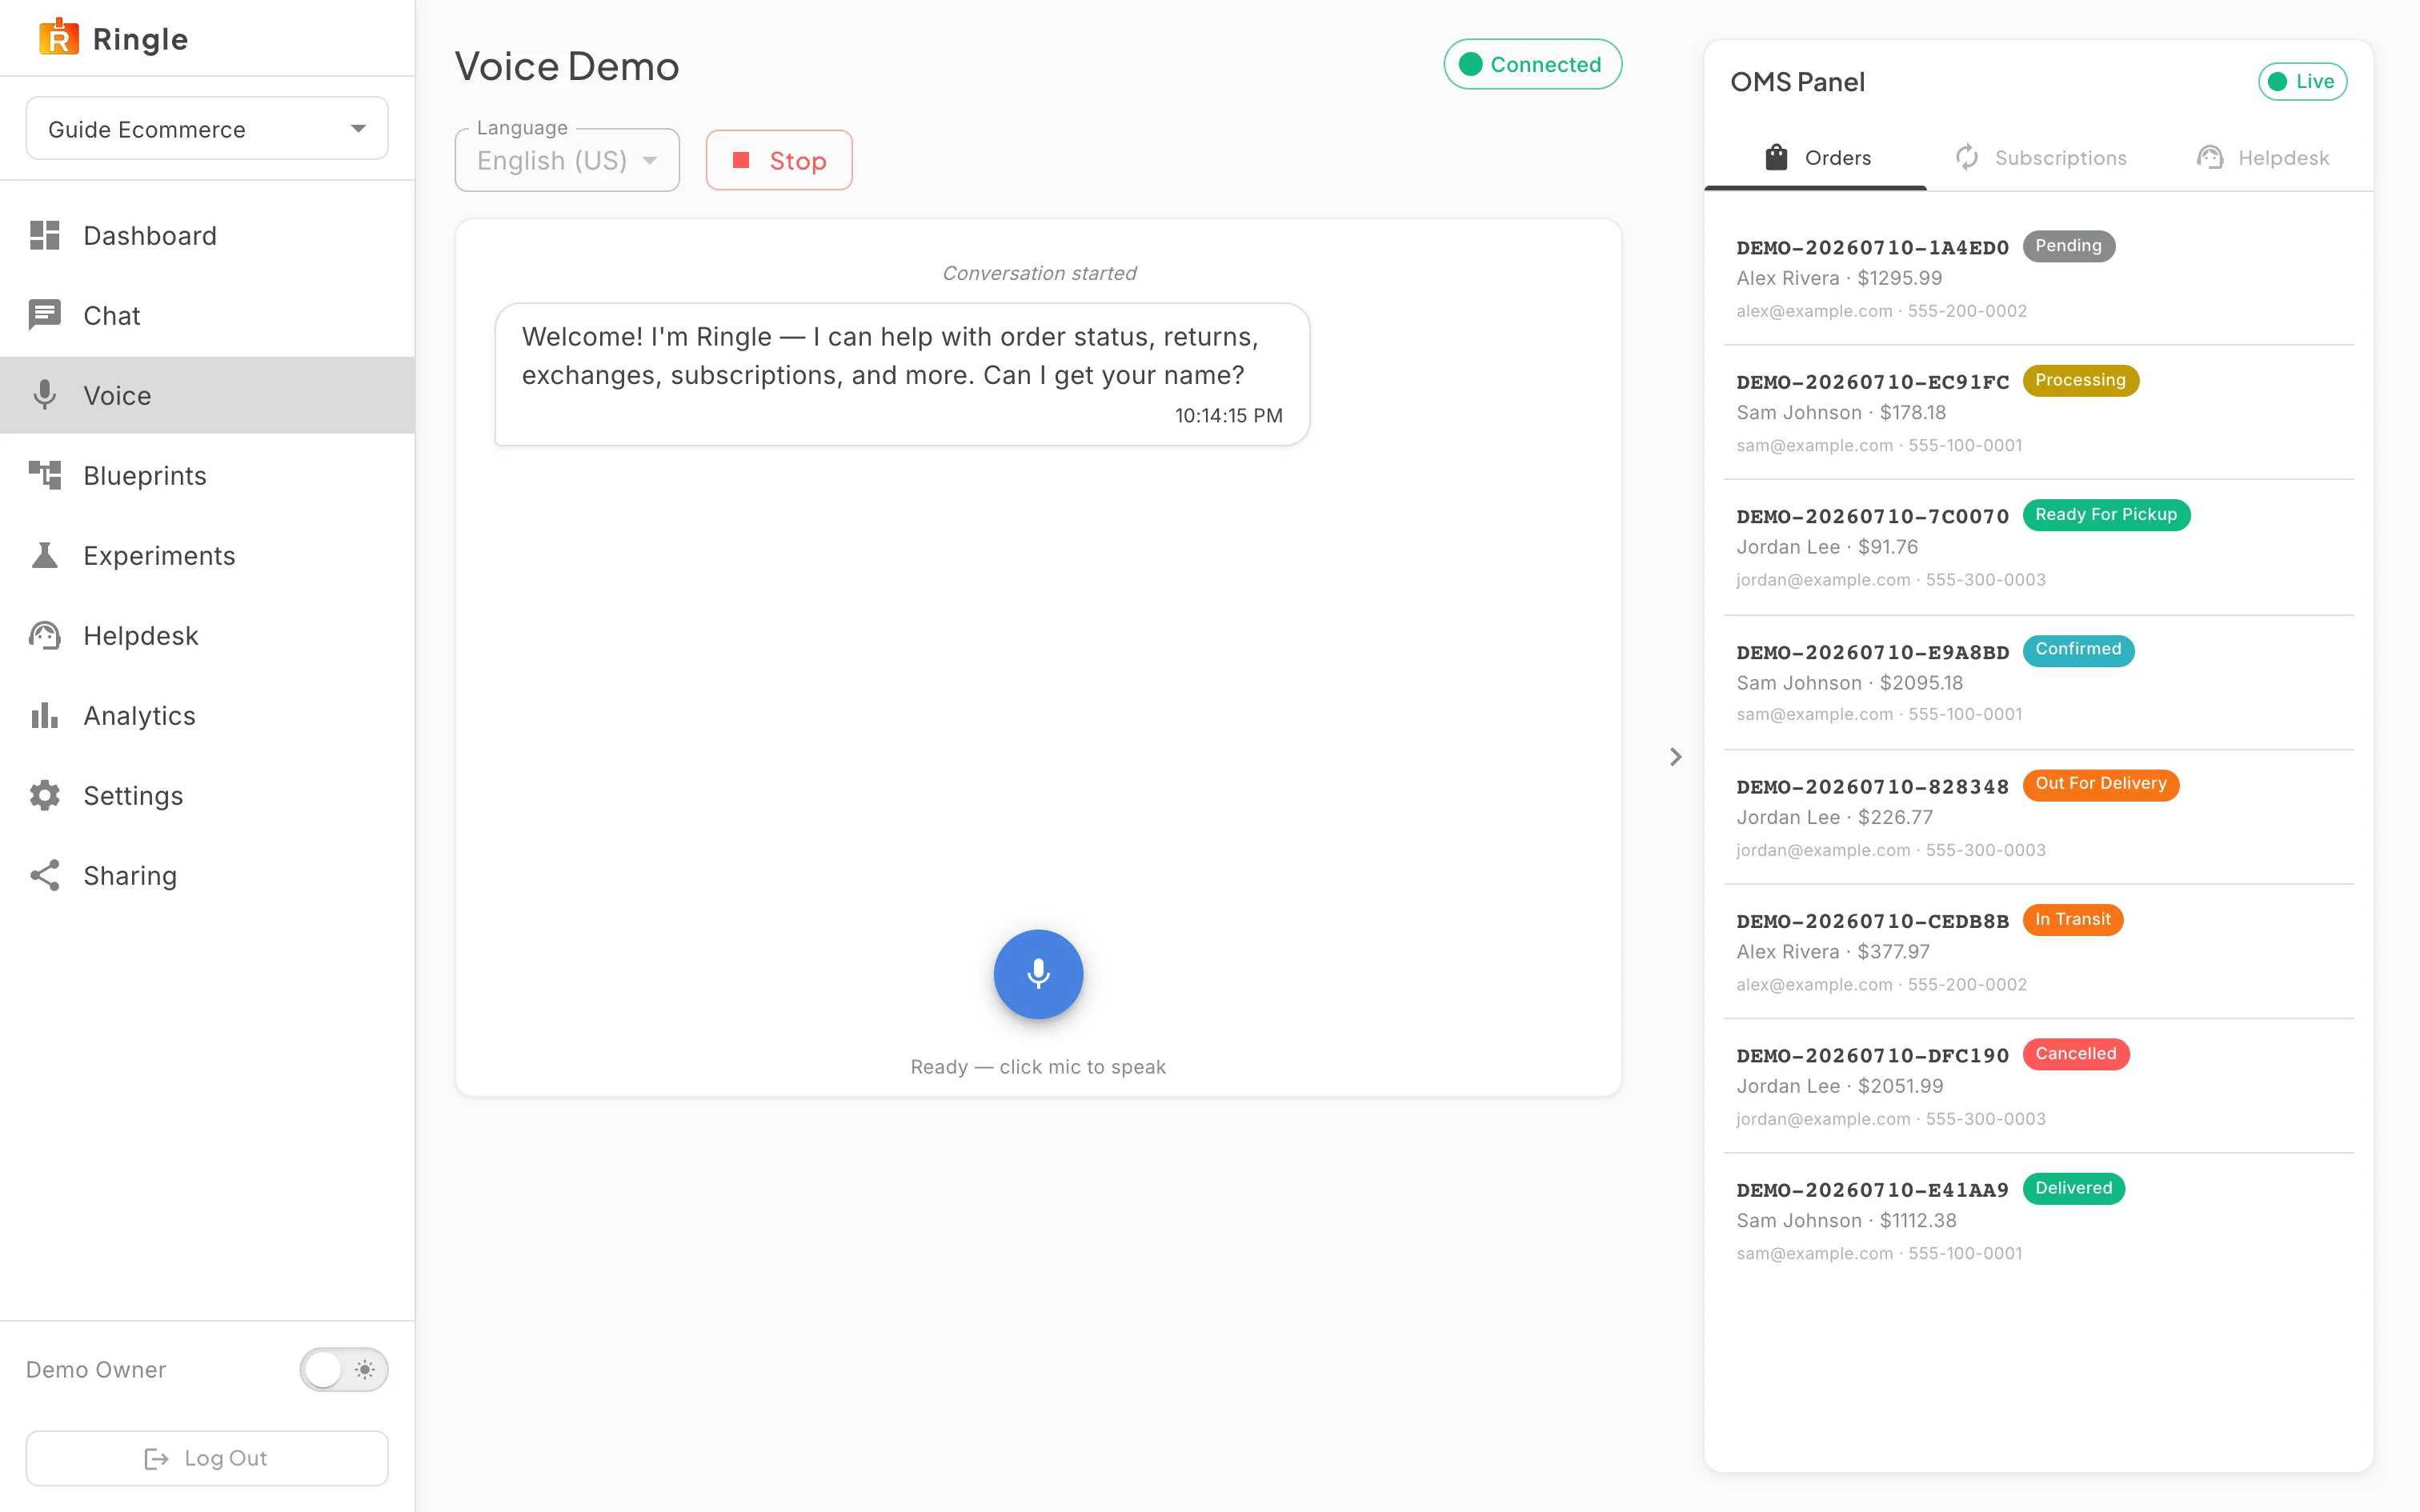
Action: Click Start Conversation.
What you should see: The assistant’s greeting appears in the transcript and is spoken aloud. The caption under the round microphone button reads “Bot Speaking…” while it talks. It then switches to a ready caption inviting you to click the mic and speak. The OMS panel chip flips to Live. If your browser has no speech recognition, a text box is shown instead of the microphone button.
Screenshot not available (a live voice session needs a microphone; the page and voice picker are shown above)
Action: Click the microphone button and speak, for example your name and a question about an order. Click the button again or pause to finish.
What you should see: The caption shows “Listening…” and your words appear as an interim transcript. The message sends automatically when recognition ends. The assistant answers both in the transcript and out loud. The microphone is disabled while the assistant is speaking.
Action: Click Stop to end the voice session.
What you should see: The transcript keeps the conversation with an ended marker. The controls return to the Start Conversation state shown here, ready for another run.
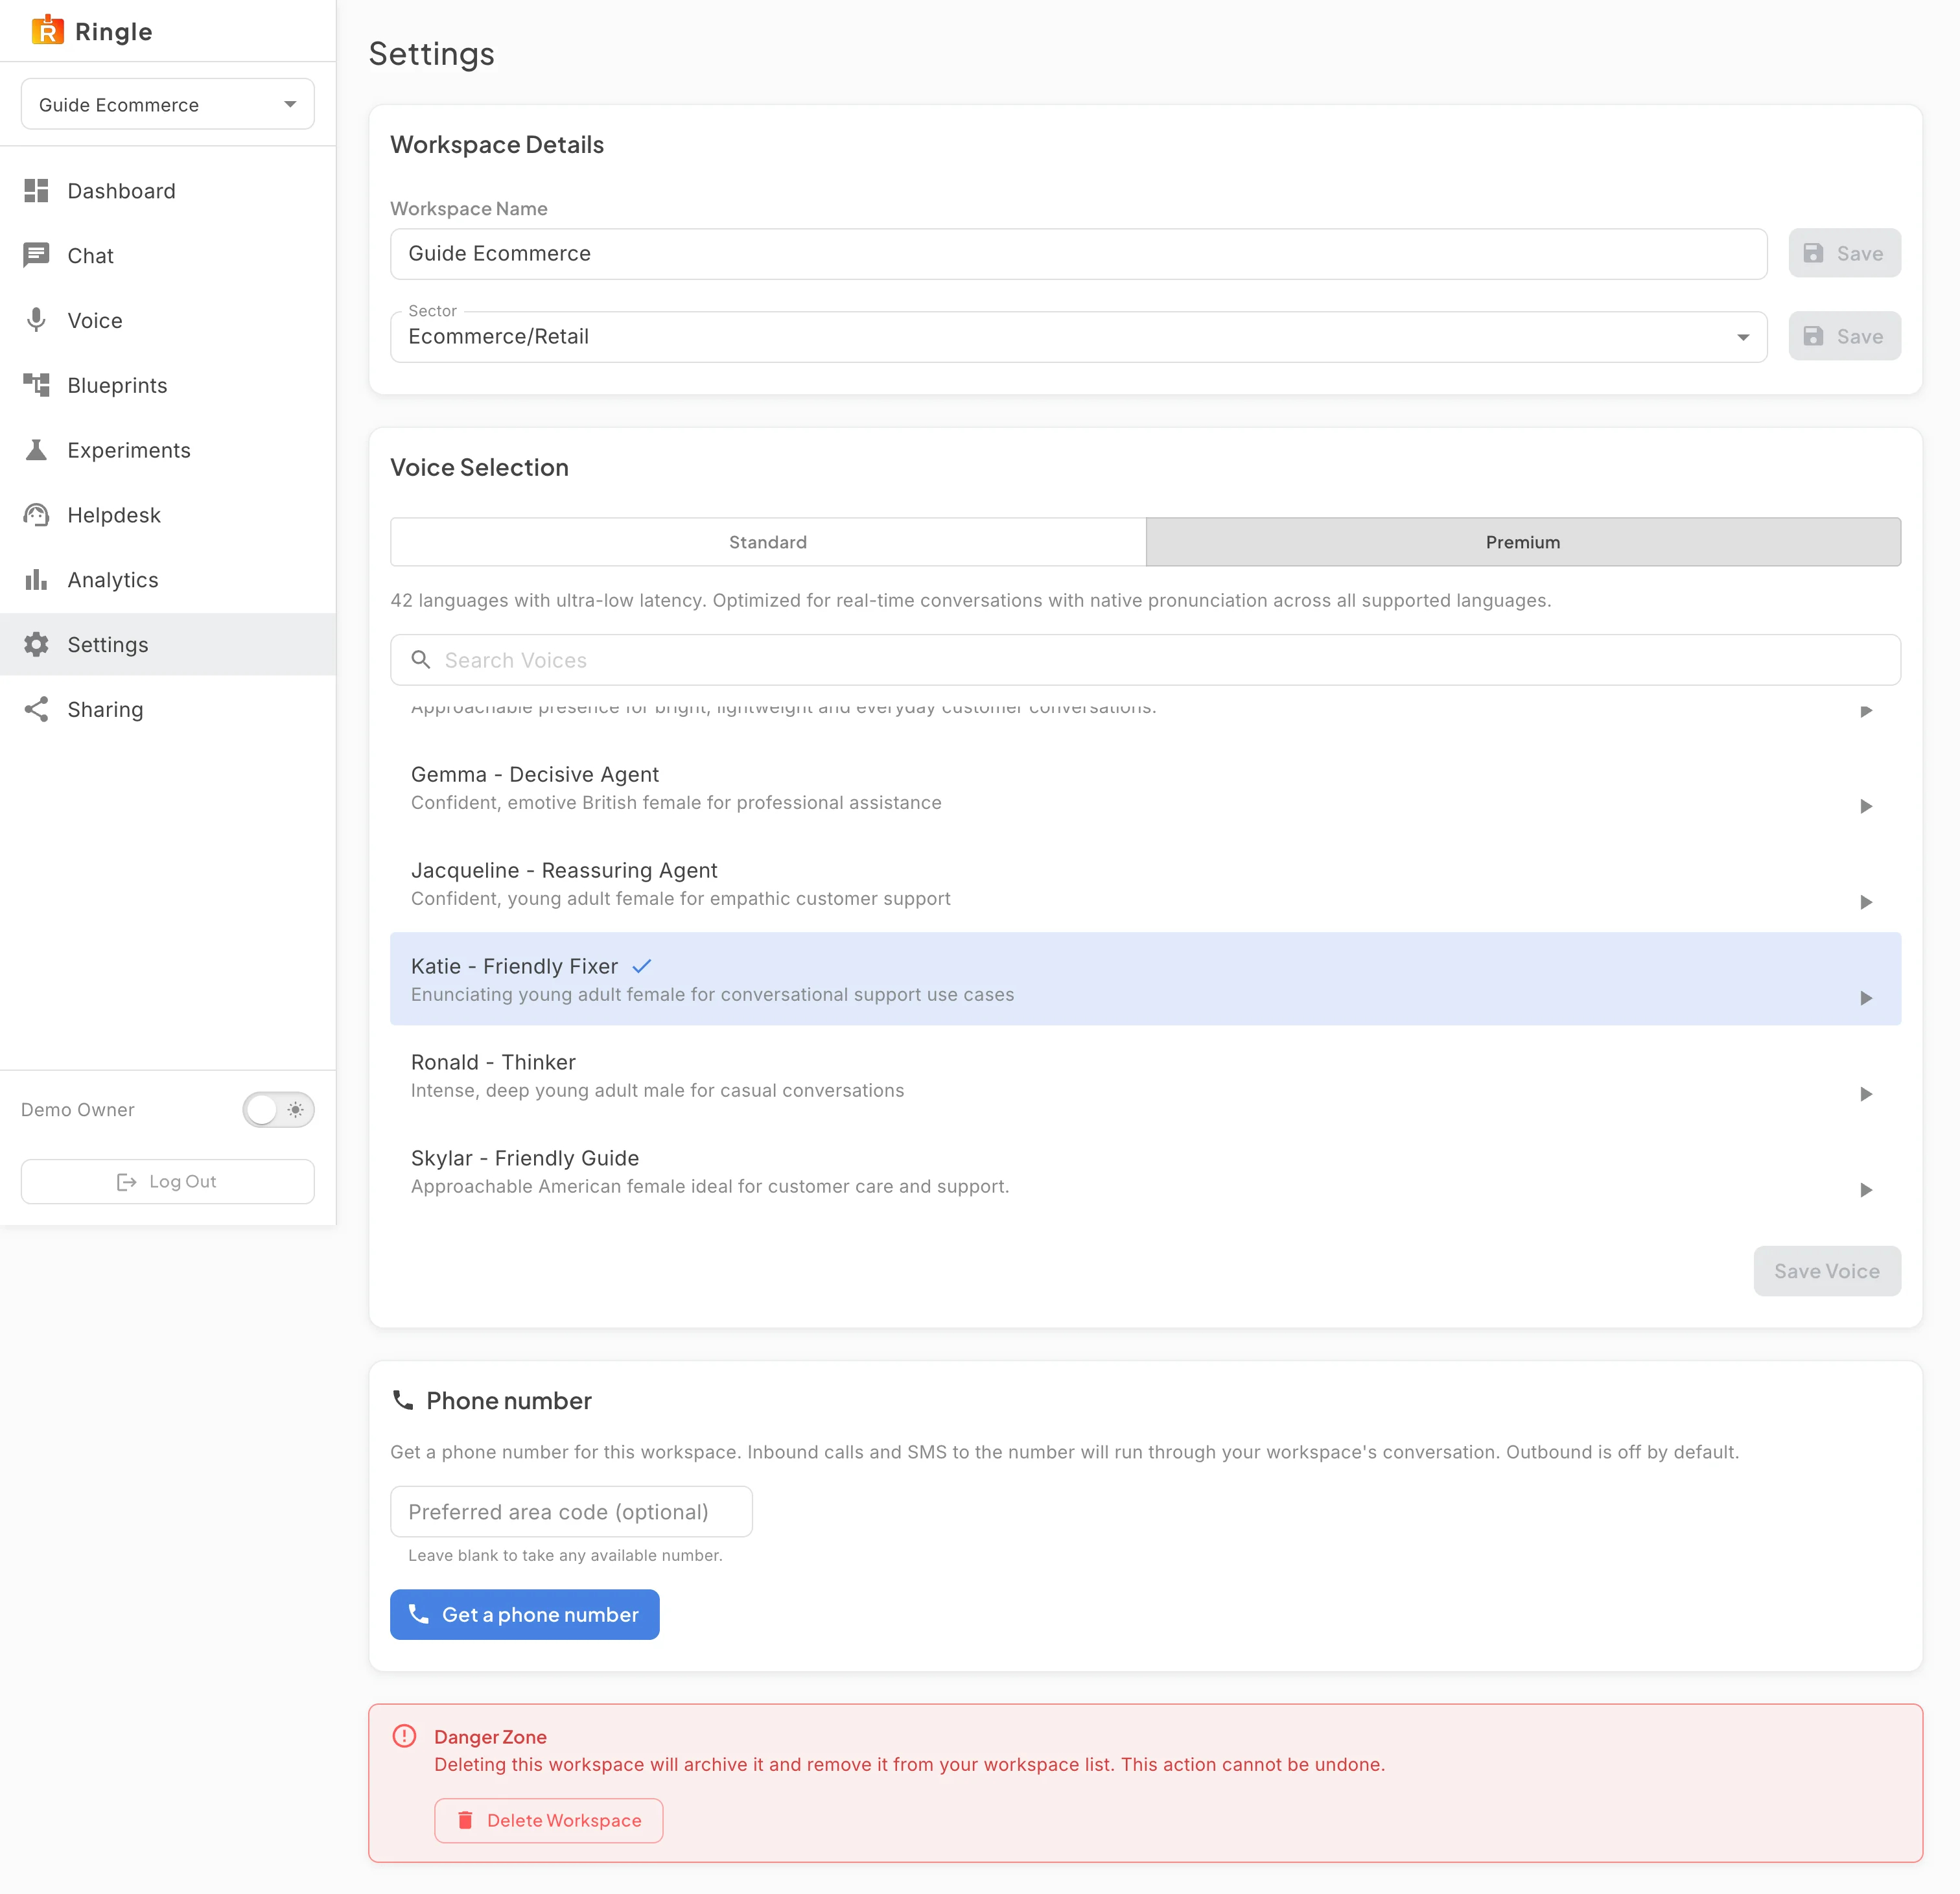
Action: To change the assistant’s voice, click Settings in the sidebar. Find the Voice Selection card.
What you should see: The card shows a Standard / Premium provider toggle with a short description of the selected tier, a Search Voices box, and a scrollable list of voices. Each row has the voice’s name, a one-line description, and a play button to preview it. A check mark and a highlight mark the selected voice, which is the workspace’s current voice when the page opens. A Save Voice button sits at the bottom right. It stays disabled until you pick a different voice.
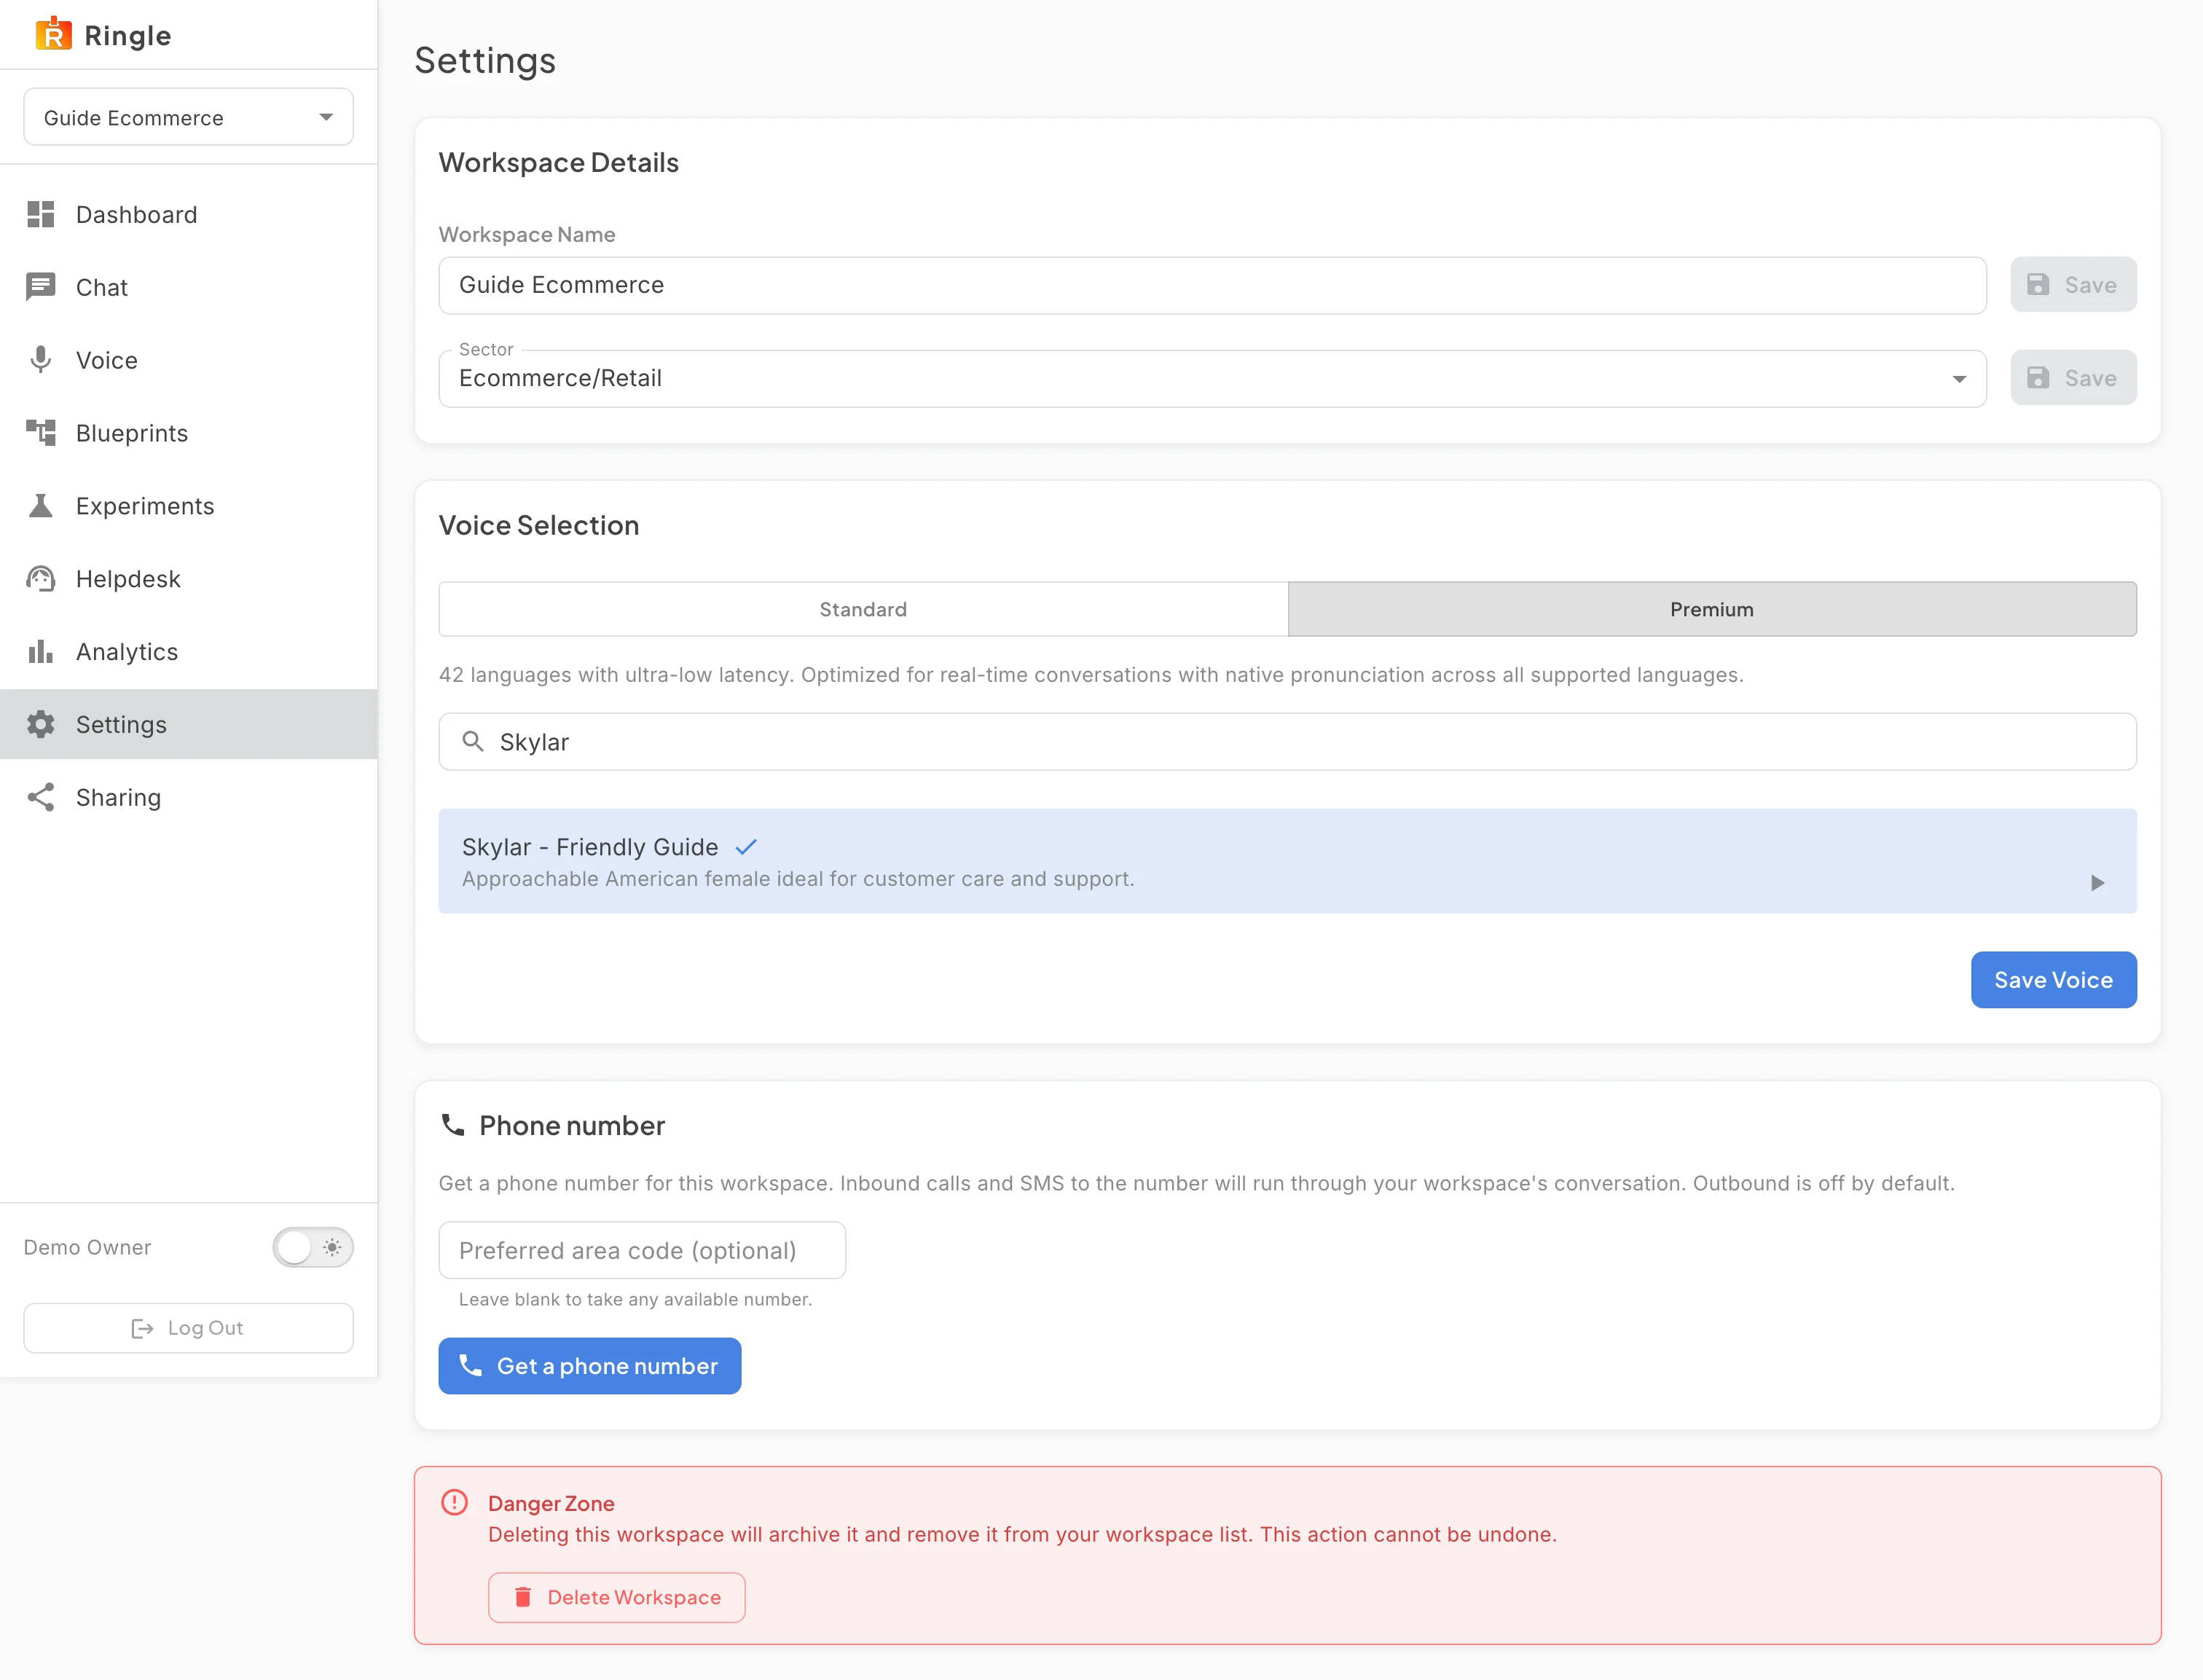
Action: Type a name in Search Voices to filter the list. Click a row’s play button to hear a sample. Click a row itself to select that voice. Then click Save Voice to apply it.
What you should see: The list narrows as you type. The play button toggles to a stop control while the sample plays, and the selected row is highlighted. After saving, the assistant uses the new voice on the next voice conversation. Voice previews come from the speech provider and need no microphone.
/demos/:id/voice (voice demo) and
/demos/:id/settings (voice selection).pages/demo-workspace/DemoWorkspaceVoice.jsx (voice page)
and components/demo-workspace/VoicePicker.jsx (voice
picker) in the portal app. The voice picker lives on the Settings page,
not the Voice page.